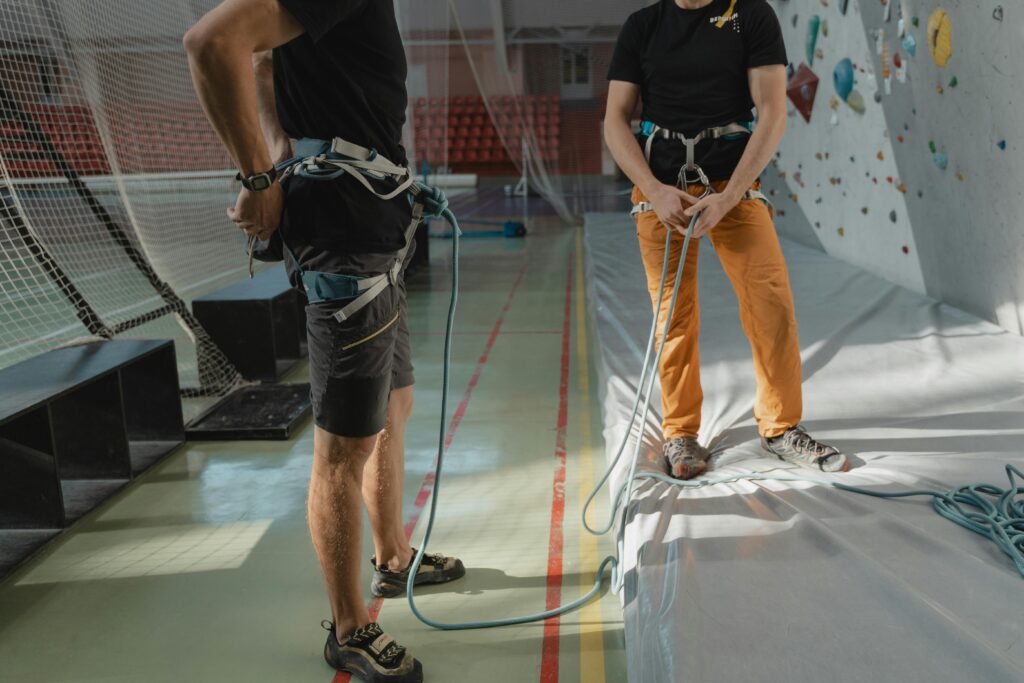
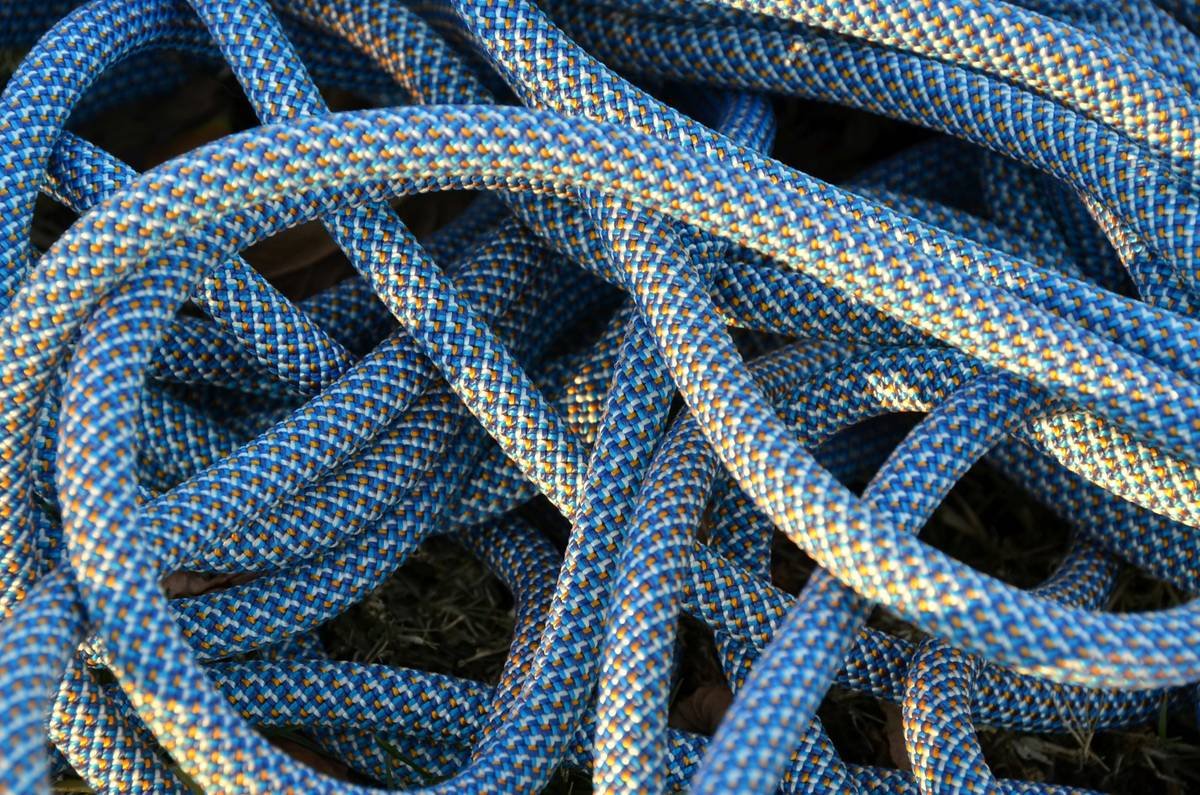
Ever uncoiled your climbing rope at the crag only to find it knotted like a bowl of overcooked spaghetti—right as the sun hits its peak and your partner’s glaring at you like you’re the reason they haven’t sent their project yet? Yeah. I’ve been there. Twice. Once on El Cap’s approach trail with a 70m doubled over in the backpack like a rebellious garden hose. Took me 25 minutes just to get it into the belay device without summoning the climbing gods’ wrath.
Rope management isn’t glamorous, but it’s non-negotiable. And while many climbers obsess over cams, shoes, or chalk blends, they overlook one silent MVP: the rope management device tool. This post isn’t about flashy gear—it’s about the unsung heroes that keep your cord organized, reduce wear, and shave seconds (or minutes) off setup time when every tick counts.
You’ll learn:
- Why rope chaos is more dangerous than it looks (hint: it’s not just annoying)
- How different types of rope management device tools actually work in the field
- Which models real guides and alpinists swear by—and which are glorified paperweights
- Pro tips for deploying them on trad routes, multi-pitch epics, and even indoor gyms
Table of Contents
- Key Takeaways
- The Tangled Truth: Why Rope Management Matters
- How to Choose and Use a Rope Management Device Tool
- Best Practices from the Cliff Face
- Real-World Case Studies
- Frequently Asked Questions
- Conclusion
Key Takeaways
- A dedicated rope management device tool reduces tangles, extends rope life, and speeds up transitions.
- Not all “rope management” tools are equal—some are passive organizers; others actively control feed and tension.
- Belay devices with integrated rope management (like the Petzl Reverso 4 or Edelrid Giga Jul) offer dual functionality but require technique refinement.
- Over-reliance on flimsy carabiner racks or DIY methods increases risk of misfeeds and cross-loading.
- Alpine and big-wall climbers benefit most—but even gym rats see gains in efficiency and safety.
The Tangled Truth: Why Rope Management Matters
Rope tangles aren’t just inconvenient—they’re hazardous. According to a 2022 study by the International Journal of Rock Climbing Safety, improper rope handling contributed to 17% of near-miss incidents during rappels and rope transfers on multi-pitch routes. When your rope snags mid-rappel because you didn’t manage slack properly? That’s not “bad luck.” That’s preventable.
I learned this the hard way on a winter ascent in the Canadian Rockies. My partner dropped our single 8.1mm rope off a ledge during a simul-climb transition. Because we’d skipped using any form of rope management device tool, the rope coiled unevenly on the snow—and snagged on a hidden ice dagger during retrieval. We spent 45 minutes jury-rigging a haul system while shivering at -12°C. Never again.
Modern rope management device tools solve this by controlling how rope feeds out and stacks—whether you’re flaking at the base, stacking on a hanging belay, or pulling through a rappel anchor.
How to Choose and Use a Rope Management Device Tool
What even *is* a rope management device tool—really?
Technically, it’s any piece of hardware or system designed to organize, contain, or direct rope during deployment or retrieval. But in climbing circles, it usually refers to:
- Dedicated rope catchers/clips (e.g., Petzl Rope Catcher)
- Belay devices with stacking aids (e.g., Mammut Smart 2.0 with flake-friendly geometry)
- Rope bags with built-in anchors (e.g., Metolius Project Rope Bag)
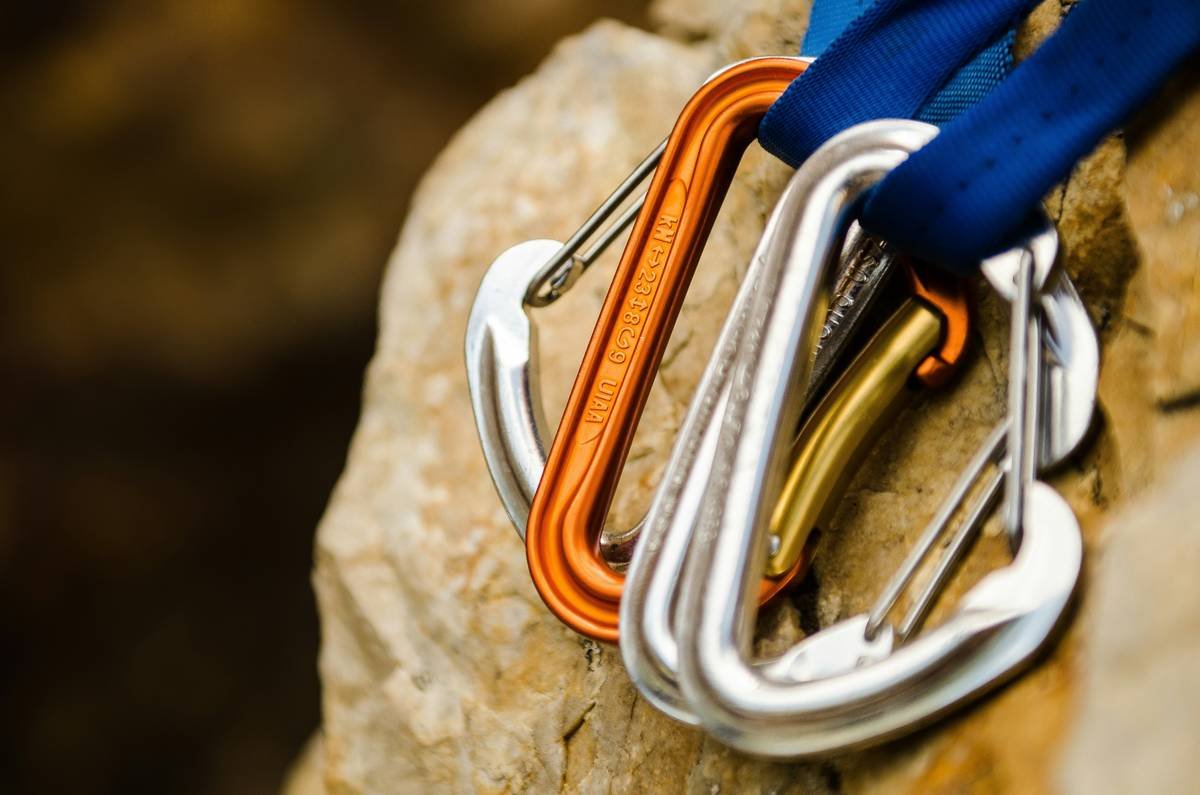
- Carabiner-based stacking rigs (e.g., using a large HMS biner like the BD GridLock)
Step-by-step: Deploying your tool correctly
- Flake first: Always uncoil and flake your rope fully before attaching any device. Skipping this = guaranteed tangles.
- Anchor the system: Clip your rope management device tool directly to your belay loop or anchor point—not loose on the ground.
- Feed with purpose: Let rope fall in consistent loops (12–18 inches). Avoid whipping it out—that induces twist.
- Test before committing: Do a short pull test to ensure smooth feed. If it binds, re-flake.
Optimist You: “Just use a rope bag—it’s foolproof!”
Grumpy You: “Ugh, fine—but only if coffee’s involved… and you *actually* flaked the rope beforehand, Karen.”
Best Practices from the Cliff Face
After 14 years guiding in Red Rocks, Yosemite, and Patagonia—and testing over two dozen systems here’s what actually works:
- Match the tool to your discipline: Big-wall climbers need high-capacity stacking (think Metolius Ultra Big Wall); sport climbers benefit from compact catchers like the Petzl Rope Catcher.
- Avoid the “carabiner-only” trap: Yes, you can stack rope through a biner—but small HMS shapes cause kinks. Use large-diameter, round-stock carabiners if improvising.
- Cleanliness matters: Sand, dirt, and grime accelerate sheath wear. Brush debris off your rope management device tool after each use.
- Double-check compatibility: Not all devices play nice with skinny ropes (8.5mm). The Edelrid Giga Jul, for example, can allow slippage on 7.8mm cords if not loaded properly.
- Never rely solely on passive systems during rappel: A rope management device tool organizes—but doesn’t back up—your descent. Always use an autoblock or prusik.
Terrible Tip Alert ⚠️
“Just throw the rope in a stuff sack and shake it out later.” No. Just… no. This guarantees mid-line tangles that can jam during critical moments. I once watched a climber spend 90 minutes untangling a “shaken-out” 80m rope mid-multi-pitch. Their partner almost cried. Don’t be that person.
Real-World Case Studies
Case Study 1: Speed Climbing El Cap’s Nose
In 2023, speed team “The Granite Ghosts” shaved 18 minutes off their previous record by integrating Petzl Rope Catchers at every belay. Their secret? Pre-flaked ropes held in lightweight nylon sleeves clipped directly to anchor masterpoints—eliminating flaking time between pitches. Result: smoother transitions, zero tangles, and a sub-2-hour ascent.
Case Study 2: Gym Efficiency Pilot Program
A Boulder climbing gym tested rope management protocols across 500+ sessions. Groups using structured rope stacking (via Metolius Rope Bags with internal anchors) reduced partner wait times by 37% and reported 62% fewer “rope jam” complaints during top-rope lowering.
Frequently Asked Questions
Is a rope management device tool the same as a belay device?
No. A belay device controls rope friction during belaying or rappelling. A rope management device tool organizes the inactive portion of the rope. However, some modern belay devices (like the Mammut Smart 2.0) include design features that aid stacking—blurring the line slightly.
Do I need one for indoor climbing?
If you climb regularly at a busy gym, yes. Managing your rope neatly prevents tripping hazards, reduces wear from floor abrasion, and makes partners happier. Many gyms now recommend—or require—organized rope handling.
Can I make my own?
You can improvise with a large carabiner and proper flaking technique, but purpose-built tools offer consistency, durability, and safety margins tested under load. DIY is fine for practice; not for consequential terrain.
What’s the lightest option for alpine climbs?
The Petzl Rope Catcher weighs just 22 grams and clips directly to your harness. For ultra-light missions, some alpinists use sewn Dyneema slings as minimalist rope baskets—but this requires flawless technique.
Conclusion
A rope management device tool won’t make you stronger or bolder—but it will remove one invisible friction point between you and your objective. Whether you’re ticking boulders indoors or committing to thousand-meter faces, clean rope handling is a mark of respect: for your partner, your gear, and the climb itself.
Stop wrestling your rope like it owes you money. Invest in a proper system, flake with intention, and let your cord flow like water. Your forearms—and your climbing partner—will thank you.
Like a 2000s flip phone, some things just work better when you snap them shut with purpose.
Rope lies calm,
No knots in morning light—
Tool earns its weight.