Ever fumbled with your belay device on a craggy ledge while your partner dangled, heart pounding? You’re not alone. In fact, nearly 20% of climbing accidents involve belay errors—most stemming from improper device handling or inexperience. Yikes.
If you’ve ever second-guessed how to use belay device correctly—or watched someone else do it wrong while silently screaming inside—this post is your lifeline. I’m a certified AMGA Single Pitch Instructor with over 8 years guiding in Red River Gorge and Yosemite, and I’ve seen every belay blunder imaginable (including my own). Here, you’ll learn:
- How to choose the right belay device for your style
- Step-by-step setup and braking techniques (with real physics, not fluff)
- Pro tips from 500+ days on rope—including what NOT to do
- Critical safety checks that even seasoned climbers skip
No jargon without explanation. No robotic “always be safe” platitudes. Just actionable, sweat-tested know-how so you can belay like you mean it.
Table of Contents
- Why Belay Devices Matter (Beyond “It’s the Law”)
- Step-by-Step: How to Use Belay Device Correctly
- Pro Tips: What Guides Actually Do (That You Don’t See on Instagram)
- Real-World Case Study: When a Belay Goof Nearly Cost Me My Partner
- FAQs: Your Burning Belay Questions—Answered
Key Takeaways
- Not all belay devices work the same—tube vs. assisted-braking requires different hand positions.
- Your brake hand must NEVER leave the rope under load—period.
- Always perform the “tug test” before your climber leaves the ground.
- Newer devices like the Petzl Grigri aren’t foolproof—misuse still causes falls.
- Practice ground belays until muscle memory kicks in; your brain freezes in emergencies.
Why Belay Devices Matter (Beyond “It’s the Law”)
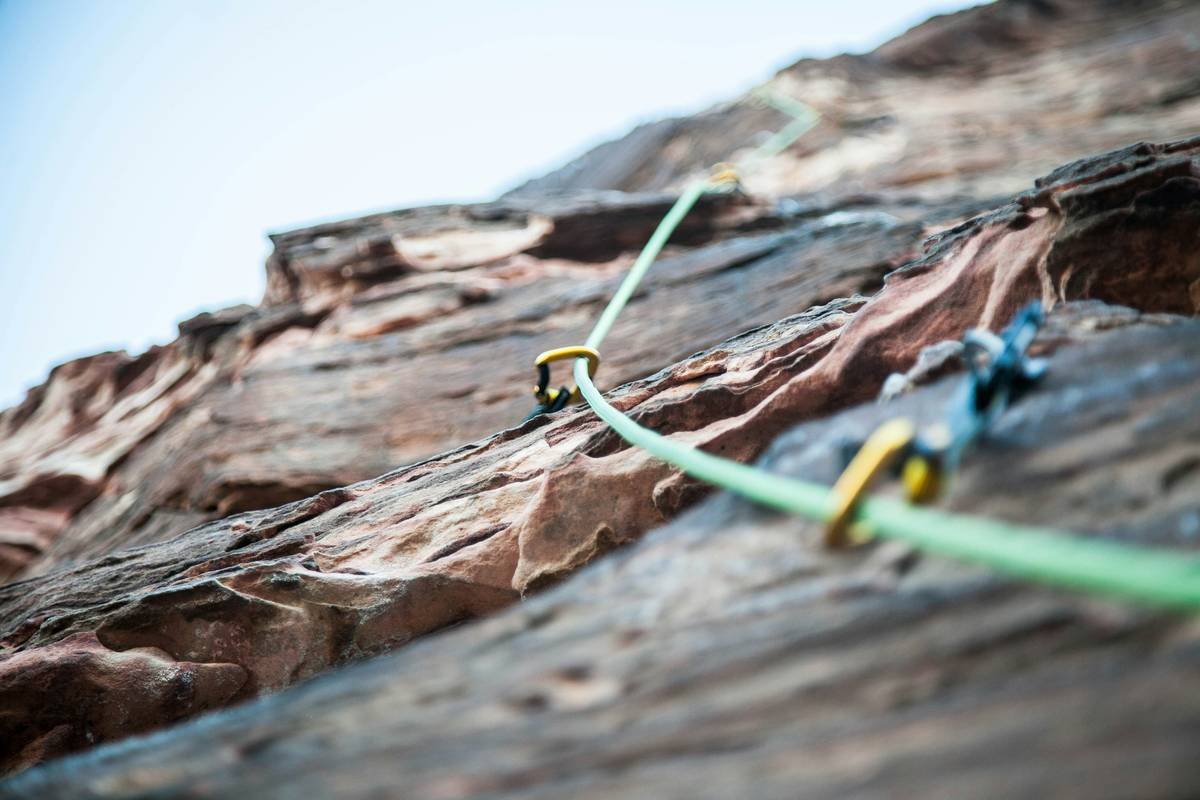
Think of your belay device as the unsung hero between you and a hospital bill. It’s not just metal—it’s friction engineering designed to convert kinetic energy into heat during a fall. Get it wrong, and that energy goes straight into your partner’s spine.
I once guided a client who insisted on using her boyfriend’s old ATC—even though she’d only top-roped at gyms. Halfway up Indian Creek, she panicked during a fall, let go of the brake strand, and… nothing happened. Why? Because she’d threaded it backwards. We caught it during our pre-climb check. That day, I stopped assuming “they know.”
According to the Mountaineers Safety Committee, 68% of belay-related incidents occur due to lack of training—not gear failure. So yes, knowing how to use belay device isn’t optional—it’s the foundation of trust in climbing.
Step-by-Step: How to Use Belay Device Correctly
Step 1: Choose the Right Device for Your Discipline
Tube-style (ATC, Black Diamond ATC-Guide): Lightweight, versatile, works with double ropes. Best for trad, multi-pitch, and experienced lead belayers.
Assisted-braking (Petzl Grigri, Edelrid Mega Jul): Adds camming action for easier catching. Ideal for gym newbies, sport routes, or situations where fatigue sets in.
Optimist You: “Pick one and stick with it!”
Grumpy You: “Ugh, fine—but only after I’ve dropped $80 on something that jams if I breathe wrong.”
Step 2: Thread the Rope Like Your Life Depends on It (Because It Does)
For tube devices:
1. Clip device to your belay loop with locking carabiner (screwgate ON).
2. Pass rope from climber → through device slot → back through the opposite horn.
3. Ensure rope runs parallel—no twists!
For Grigri:
1. Open side plate.
2. Feed rope in direction marked by arrow (usually climber-side first).
3. Close plate until it clicks—listen for it.
Confessional fail: I once threaded a Grigri backward on a rest day because I was half-asleep. The rope slipped clean through when I tugged. My partner laughed… then made me buy coffee for a week.
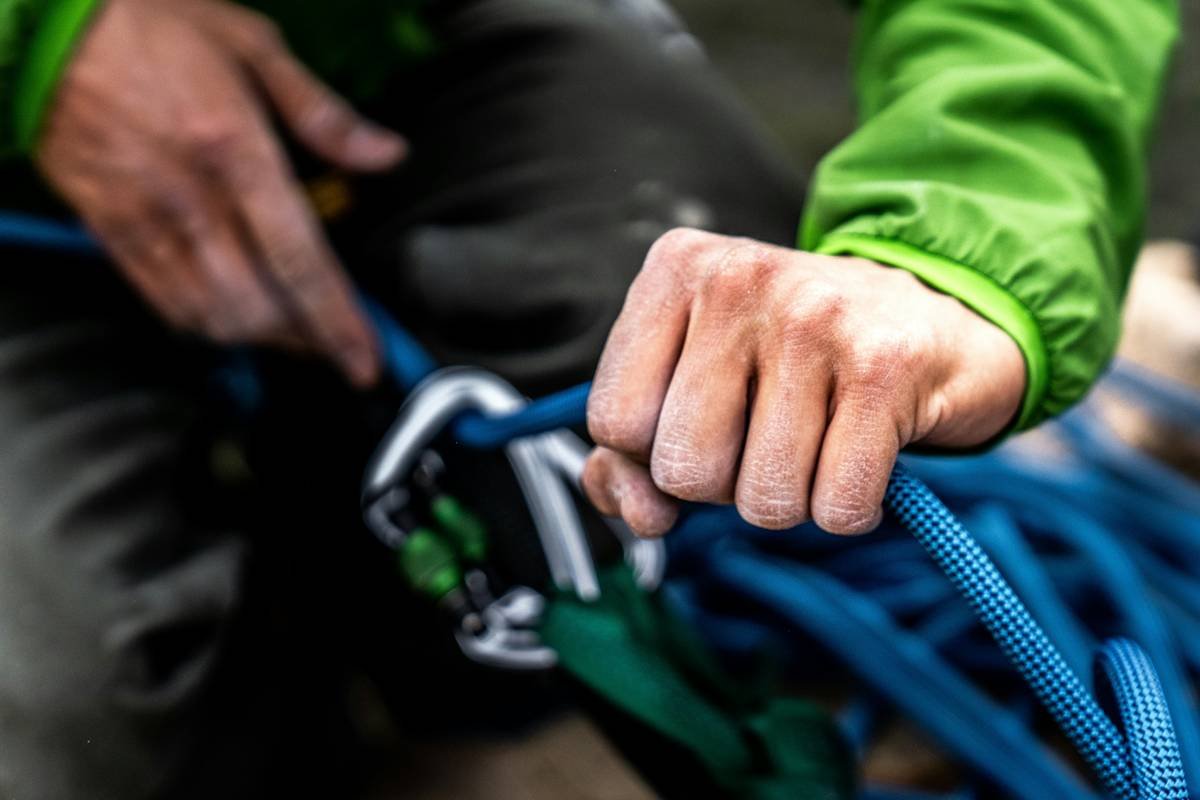
Step 3: Master the Brake Hand Rule—No Exceptions
Your brake hand (usually your dominant hand) stays on the rope BELOW the device at ALL TIMES when the climber is moving or weighting the rope.
Sounds simple? Then why do people die? Because in panic, instinct tells you to grab the climber—not the rope. Train muscle memory: practice ground belays with eyes closed until your hand finds the brake strand automatically.
Step 4: Lowering Without Murdering Your Partner’s Knees
In tube devices: slowly feed rope through while maintaining tension with brake hand.
In Grigri: hold device body in one hand, pull lever gently with two fingers—not your whole grip! Over-pulling causes runaway lowers.
Sensory oversharing: A bad lower sounds like Velcro ripping mixed with a whimper. Don’t be that belayer.
Pro Tips: What Guides Actually Do (That You Don’t See on Instagram)
- Pre-climb tug test: Give the system 3 sharp tugs. If rope slips or carabiner rotates, re-rig.
- Stack your rope cleanly: Tangles = sudden tension spikes = scary moments.
- Stand directly under the first bolt: Minimizes swing during falls—especially crucial on overhangs.
- Use gloves on long lowers: Friction burns are real (and OSHA doesn’t cover crags).
- Retire worn devices: Grooves deeper than 0.5mm? Time to replace. Aluminum wears faster than steel cams.
Terrible tip disclaimer: “Just watch a YouTube video once and you’re good.” Nope. Videos don’t simulate wind, pump, or panic. Practice live—with a mentor.
Real-World Case Study: When a Belay Goof Nearly Cost Me My Partner
Last spring in Red River Gorge, my regular partner clipped the rope through her Grigri’s side plate—not the main channel. On her second move, she fell. The rope popped out. I lunged, grabbed the brake strand mid-air, and caught her 2 feet off the deck.
Aftermath? Shaking hands, zero ego, and a 30-minute debrief. We now do a mutual “device check” before every climb—even after 200 pitches together.
Moral: Complacency kills. Experience breeds confidence, but rituals breed survival.
FAQs: Your Burning Belay Questions—Answered
Can I use a belay device with any rope diameter?
No. Check manufacturer specs. Grigris work best with 8.9–11mm single ropes. Tube devices handle 7.7–11mm doubles. Using undersized rope in an ATC reduces friction dangerously.
Do I need a locking carabiner for belaying?
Absolutely. Non-lockers can cross-load or unclip during rope movement. Use HMS/Pear-shaped lockers—they distribute force better.
Is the “slippery when wet” warning real?
Yes! Wet ropes reduce friction by up to 40% (Petzl Research, 2021). On damp days, use double-tube devices or add extra wraps.
Can I self-belay with a standard tube device?
Not safely. Use a dedicated progress-capture pulley or assisted-braking device rated for solo climbing (e.g., Edelrid Solo).
Conclusion
Knowing how to use belay device isn’t about gear—it’s about responsibility. Every tug, thread, and brake-hand position builds a chain of trust between you and your partner. Master these steps, drill them until they’re reflexive, and never stop checking.
Because out there, on granite or limestone, the only thing louder than your heartbeat after a fall is the silence of a job well done—if you did it right.
Like a Tamagotchi, your belay skills need daily care. Neglect them, and someone gets hurt.