Ever found yourself stuck mid-climb because your rope was either too short or ridiculously long? Yeah, we’ve all been there.
If you’re serious about climbing—and by that, I mean scaling mountains like a boss—then rope length optimization is one of those “silent secrets” every climber needs to master. Today, we’ll explore why optimizing your rope length can make or break your climb, how it ties into choosing the right belay device, and some killer tips to avoid rookie mistakes.
You’ll learn:
- How improper rope lengths create chaos on climbs
- A step-by-step guide to optimizing for different routes
- Tips, tools, and gear recommendations to nail this process
- Real-life examples from climbers who got it right (and wrong)
Table of Contents
- Introduction: Why Rope Length Matters
- Section 1: The Problem with Improper Rope Lengths
- Section 2: Step-by-Step Guide to Rope Length Optimization
- Section 3: Best Practices for Climbers Using Belay Devices
- Section 4: Real-Life Examples of Good (and Bad) Rope Choices
- FAQs About Rope Length Optimization
- Conclusion: Take Your Climbs Higher
Key Takeaways
- Poor rope length planning leads to wasted energy, time delays, and safety risks.
- Different terrains require tailored approaches to rope length based on route complexity.
- Selecting compatible belay devices enhances efficiency during rope management.
- Always double-check manufacturer guidelines before purchasing equipment.
Introduction: Why Rope Length Matters
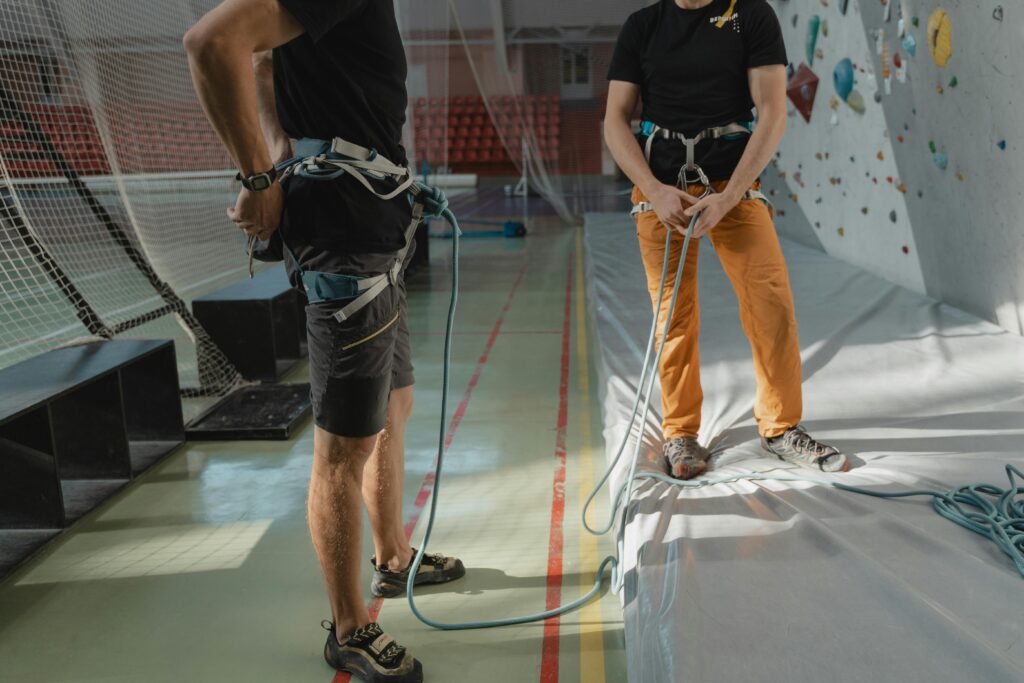
Image Alt Text: A climber carefully adjusts their rope length while preparing for a challenging ascent.
Picture this: You’re halfway up a mountain when you realize your rope isn’t long enough to reach the next anchor point. Panic sets in as your partner shouts sarcastic motivational quotes from below. Sounds familiar?
Optimizing your rope length is more than just avoiding awkward moments—it’s a vital part of safe and efficient climbing. From ensuring compatibility with your climbing belay devices to maximizing route coverage without unnecessary bulk, getting this detail right ensures smoother ascents (and better bragging rights).
Section 1: The Problem with Improper Rope Lengths
“Remember that time I brought a 60-meter rope for a 70-meter pitch?” – Anon, climbing forums
Let me paint a picture here:
Your rope’s length dictates everything from communication clarity with your belayer to whether you actually finish your route safely. Too long? It becomes cumbersome, heavy, and prone to tangling. Too short? Well, prepare for disaster scenarios where retreat might be impossible.
Rant Zone:
I once saw someone use a massive 80-meter static line for indoor bouldering—an absolute monstrosity of overkill. Not only did they look like a tangled octopus by the end of session, but they also nearly knocked out every other climber within five feet. DON’T BE THIS PERSON.
Section 2: Step-by-Step Guide to Rope Length Optimization
Step 1: Assess Your Route
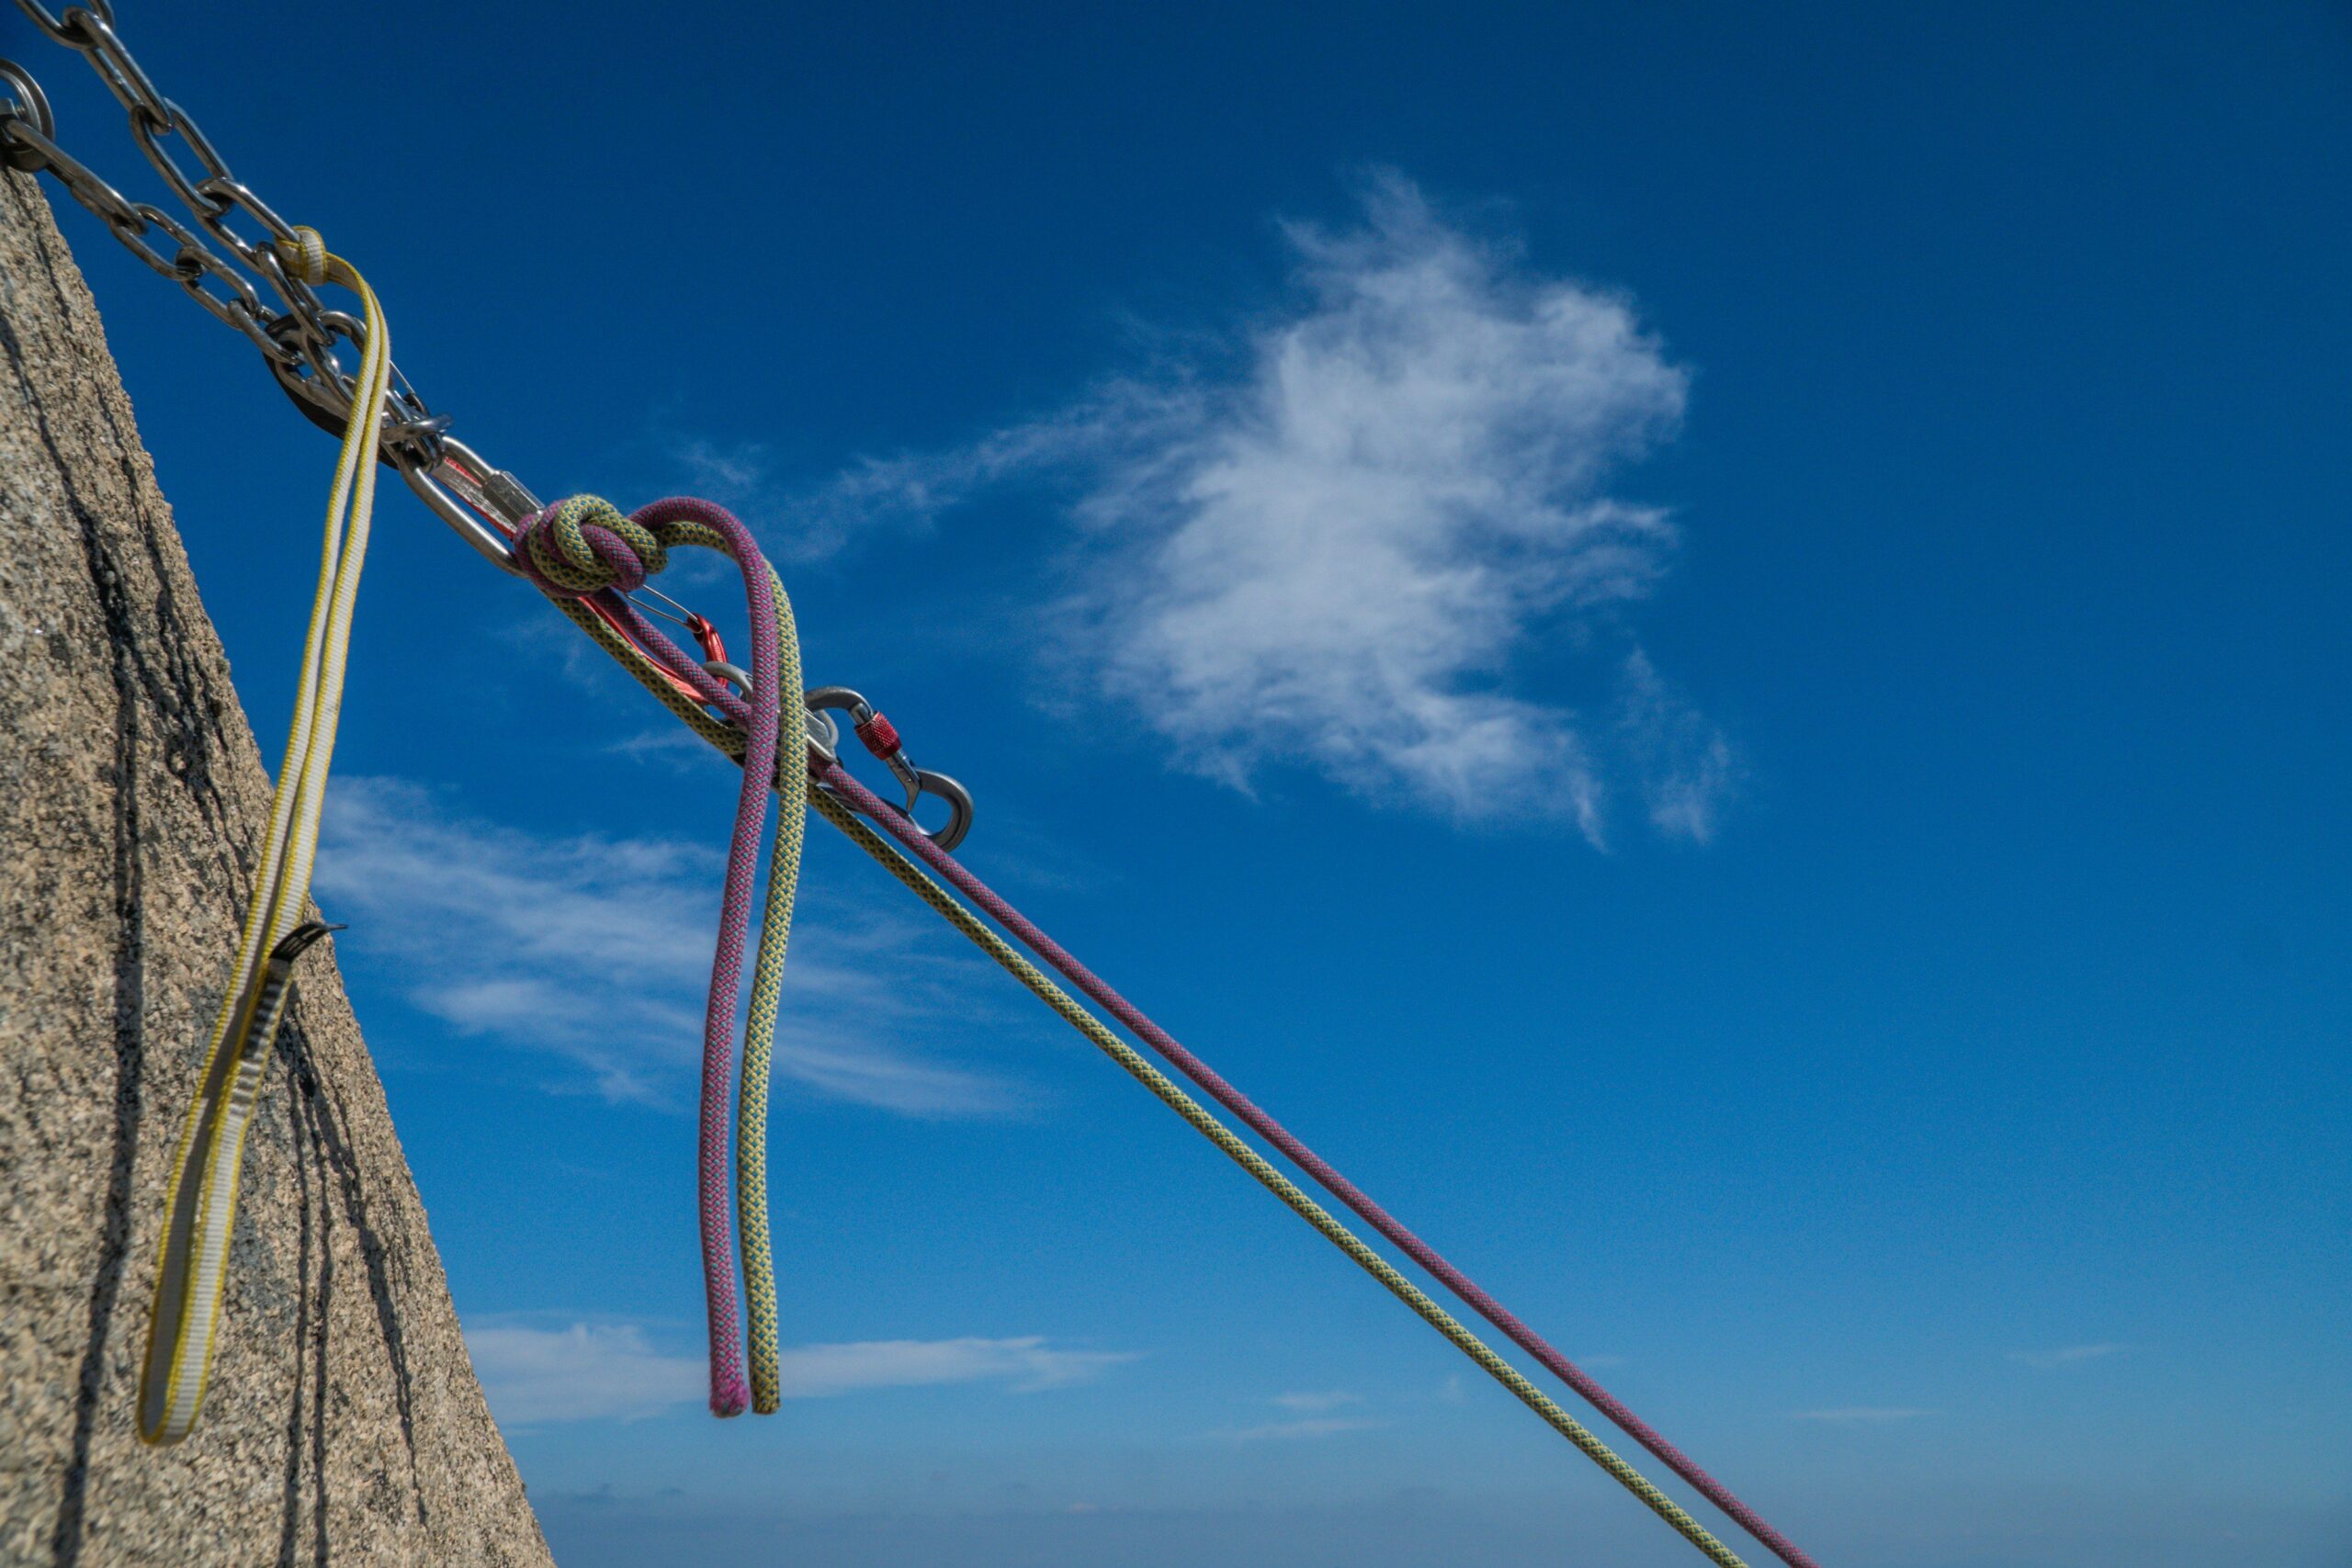
Image Alt Text: Detailed map highlighting different climbing routes with color-coded paths.
Before even touching your gear, study the route carefully. Most climbing destinations provide route guides indicating approximate heights required. If these aren’t available, chat with local climbers or scout visually.
Optimist You: “I’m sure my measurements are spot-on!”
Grumpy You: “Yeah, unless you enjoy mid-air repelling surprises.”
Step 2: Match Length to Terrain Type
- Sport Climbing: Typically requires shorter ropes due to bolt spacing (50-60 meters).
- Trad Climbing: Longer ropes shine since pitches often exceed standard lengths (70+ meters recommended).
- Multi-Pitch Adventures: Bring extra-long ropes plus doubles or twins for extended coverage.
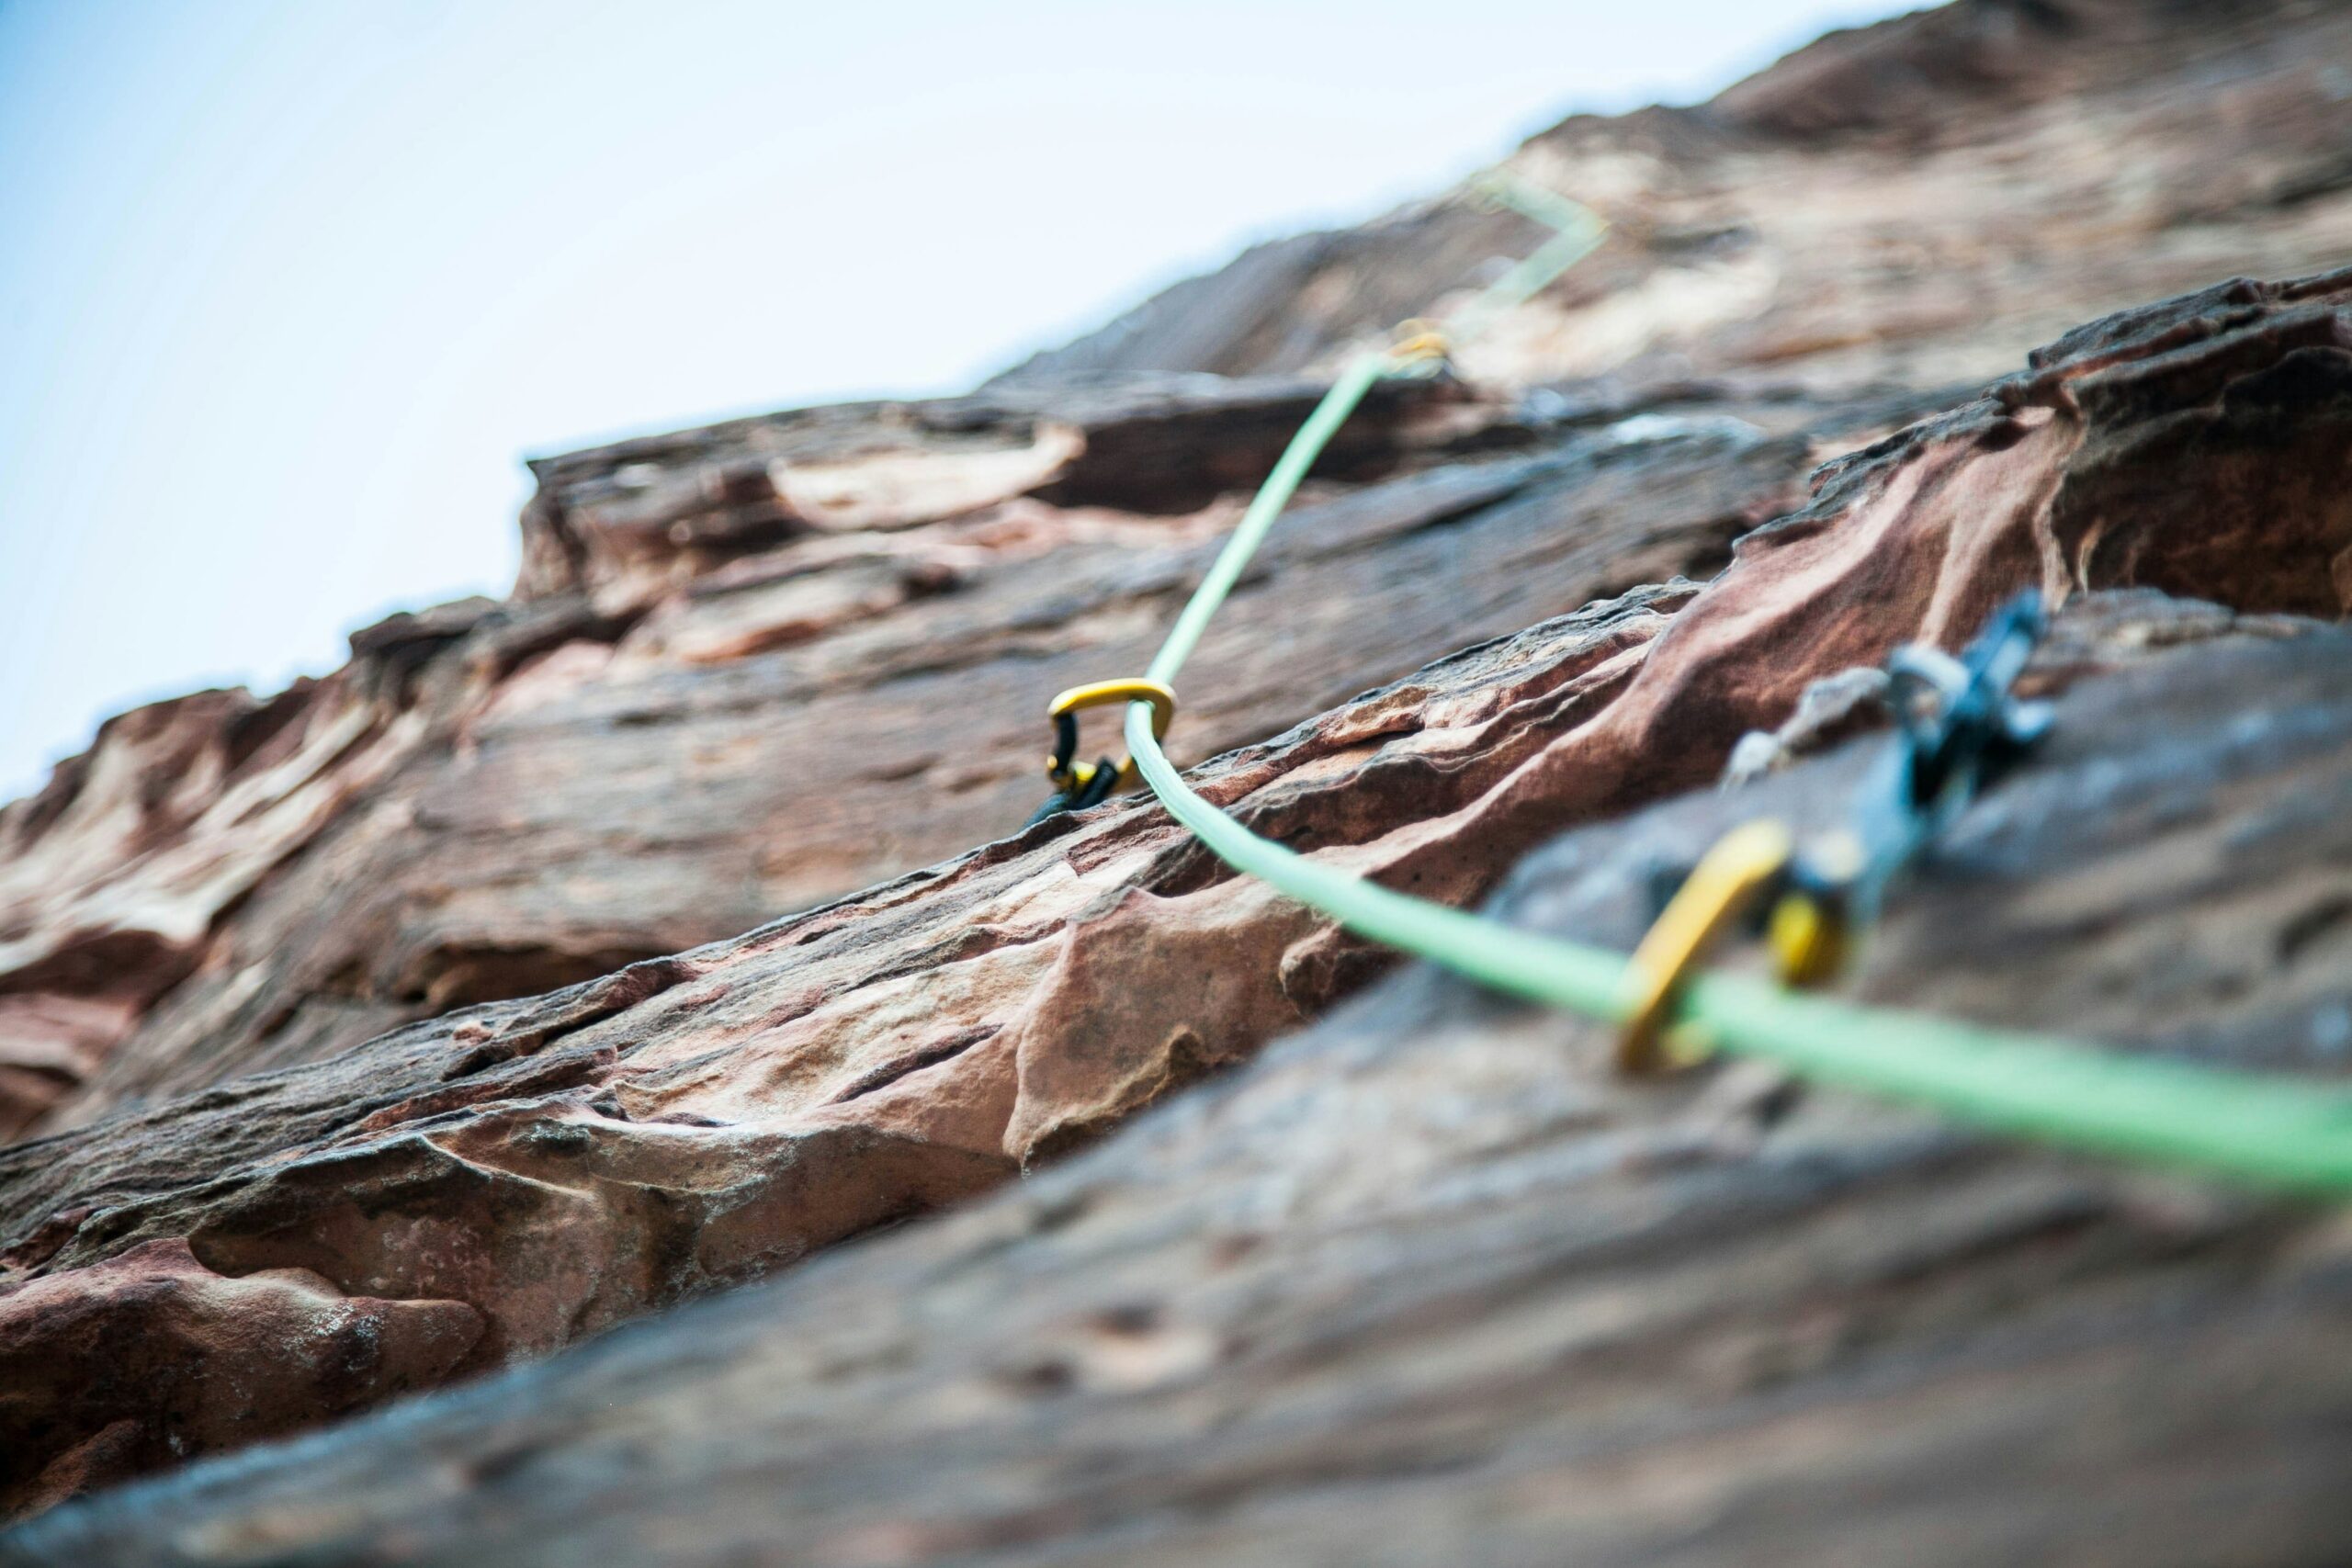
Step 3: Consider Compatibility with Belay Devices
Not all ropes play nice with certain climbing belay devices. For instance:
– Friction brakes work best with skinnier dynamic ropes under 9.5mm diameter.
– Auto-locking mechanisms may struggle if your cord thickness exceeds specs.
Section 3: Best Practices for Climbers Using Belay Devices
Tip #1: Regularly Check Manufacturer Guidelines
No shame in RTFM (“Read The Fine Manual”), folks. Each belay setup has unique requirements listed clearly.
Tip #2: Practice Knotting Techniques
Proper knotting improves handling regardless of rope dimensions. Try clove hitches or figure eights depending on preference.
Terrible Tip Disclaimer:
“Tie knots loosely so untangling later seems easier.” Seriously though? Please no.
Section 4: Real-Life Examples of Good (and Bad) Rope Choices
Good Example:
Sarah took her trusty 70m rope on Trad routes last summer across Yosemite’s famed cracks. Zero issues reported thanks to prior research and matching her kit perfectly!
Bad Example:
Tom thought bringing his old gym-standard 30-foot top-rope would suffice outdoors… cue endless laughter from everyone nearby witnessing him frantically reroute midway up.
FAQs About Rope Length Optimization
Q: How do I know which rope size fits my belay device?
A: Always check the device manual for minimum/maximum diameters allowed. Also, consider test runs beforehand.
Q: Does weight really matter much in choosing ropes?
A: Definitely yes! Lighter ropes reduce fatigue significantly especially during long hikes.
Q: Can I cut down existing ropes to save costs?
A: Technically possible yet highly NOT advised unless professionally done post-inspection.
Conclusion: Take Your Climbs Higher
And there you have it—the full scoop on mastering Rope Length Optimization, intertwined seamlessly with picking top-notch climbing belay devices. Remember our cardinal rules:
- Plan ahead thoroughly analyzing each specific route demand.
- Prioritize compatibility above aesthetics always.
- Practice consistently refining techniques over time.
“Mountains are calling; ensure your rope listens first!”
Like fitting Tetris blocks flawlessly, perfecting rope choice feels oh-so satisfying amidst nature’s playground – yay teamwork spirit 🧗♀️💪 And hey, stay sharp out there adventurers!
Haiku Break:
Climbing high above,
Rope sings sweet symphony —
Safety meets triumph.