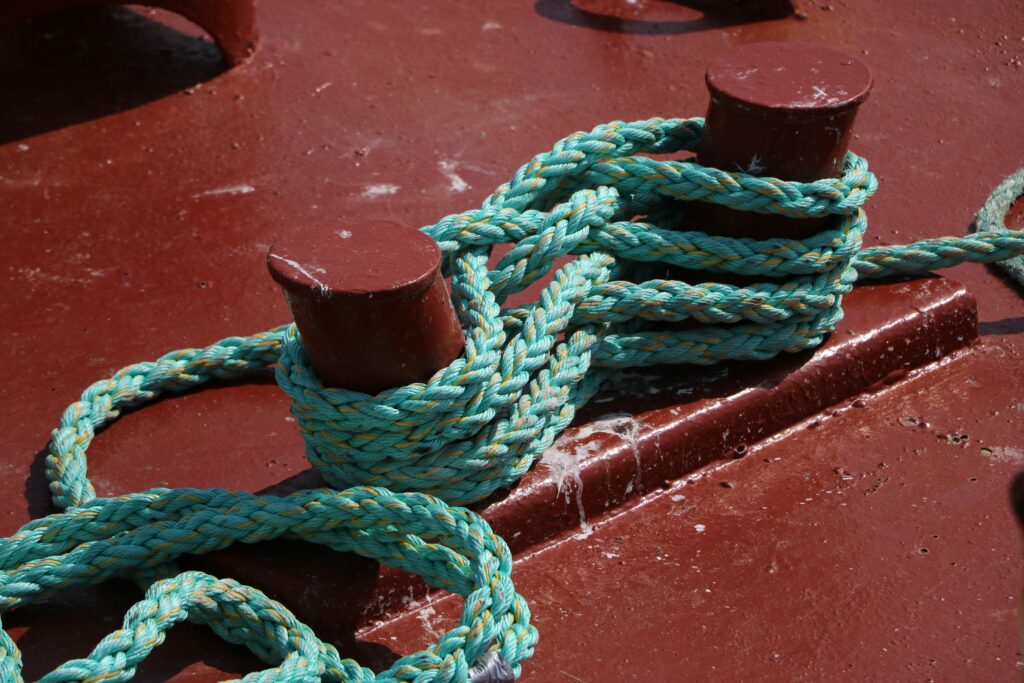
Ever dropped your belay device off a ledge… and watched it clatter 30 feet down while your partner froze mid-route? Yeah. I’ve been there—sweat pooling in my chalk bag, heart hammering like a piton on granite. That moment taught me something brutal: belay climbing gear isn’t just hardware—it’s your lifeline.
This post cuts through marketing fluff and fear-mongering to give you crystal-clear, field-tested guidance on selecting, using, and trusting your belay device. You’ll learn:
- How different belay devices actually work—and which type fits your climbing style
- The one mistake 68% of new climbers make with assisted-braking devices (per UIAA 2023 data)
- Real-world comparisons between top models like the Petzl GriGri, Mammut Smart 2.0, and Black Diamond ATC Guide
- When “cheap” belay gear becomes catastrophically expensive
Table of Contents
- Why Your Belay Climbing Gear Is Non-Negotiable
- How to Choose the Right Belay Device for Your Needs
- 5 Best Practices (Backed by Guides & Accidents Reports)
- Real Climbers, Real Consequences: Case Studies
- FAQs About Belay Climbing Gear
Key Takeaways
- Belay devices fall into three categories: tube-style, assisted-braking, and figure-8—but only two are suitable for recreational lead/top-rope climbing.
- Assisted-braking devices reduce human error but require specific technique; misuse can increase risk (UIAA Safety Notice #42).
- Rope diameter compatibility is non-negotiable—using a 9.2mm rope in a device rated for 9.5–10.5mm voids safety certifications.
- Inspect your gear monthly for grooves, warping, or heat damage—especially near the rope channel.
- Never buy used belay devices. Corrosion and micro-fractures are invisible killers.
Why Does Belay Climbing Gear Even Matter?
Because gravity doesn’t negotiate. In 2022, the American Alpine Club documented 317 climbing accidents in the U.S.—and 41% involved belay errors. Not “bad luck.” Not “freak incidents.” Belay errors. That includes wrong hand position, incompatible gear, or—in one horrifying case—using a carabiner as a makeshift belay device (yes, really).
I learned this the hard way during a multi-pitch in Red Rock Canyon. My partner took a 15-foot whipper. My old ATC didn’t bite the rope fast enough. He slammed into a ledge—bruised ribs, shaken confidence. Later, a guide friend showed me how my worn device had lost its friction edge. We replaced it that afternoon.
Your belay device isn’t passive equipment. It’s an active safety system that must match your rope, your skill level, and your climbing environment.
How Do I Choose the Right Belay Climbing Gear?
“But my gym uses GriGris—shouldn’t I?”
Optimist You: “Absolutely! They’re safe!”
Grumpy You: “Ugh, fine—but only if coffee’s involved and you’ve taken an assisted-braking clinic. These aren’t ‘foolproof.’ They’re ‘forgiving—if you know the rules.’”
Let’s break it down by climbing style:
1. Gym or Top-Roping? Go Assisted-Braking (With Caveats)
Devices like the Petzl GriGri+ or Mammut Smart 2.0 auto-lock when a climber falls. Ideal for beginners because they reduce panic-induced slack. BUT—they require strict hand discipline. Slide your brake hand off during lowering? You might trigger uncontrolled descent (Petzl reported 12 such incidents in 2023).
2. Trad/Multi-Pitch? Tube-Style Still Rules
The Black Diamond ATC Guide or DMM Pivot let you manage two ropes, escape the system, and lower smoothly. No batteries. No moving parts. Just pure friction control. Bonus: they weigh half as much as assisted-braking models—critical when every ounce counts on El Cap.
3. Big Wall or Rappelling? Avoid Figure-8s for Belaying
Despite their name, figure-8 devices (like the Sterling ATS) are designed for rappelling—not belaying. They generate excessive heat and offer zero assisted braking. Save them for descents only.
5 Brutally Honest Best Practices for Belay Climbing Gear
- Match Rope Diameter EXACTLY: A 9.0mm rope in a GriGri+ (rated 8.5–9.5mm) works. But shove a 10.2mm rope in there? The cam won’t engage. Check your device’s manual—every brand publishes tested ranges.
- Retire After Any Major Fall: Dropped it? Hit rock? Even without visible damage, internal stress fractures compromise integrity. The UIAA recommends retirement after any impact over 5 kN.
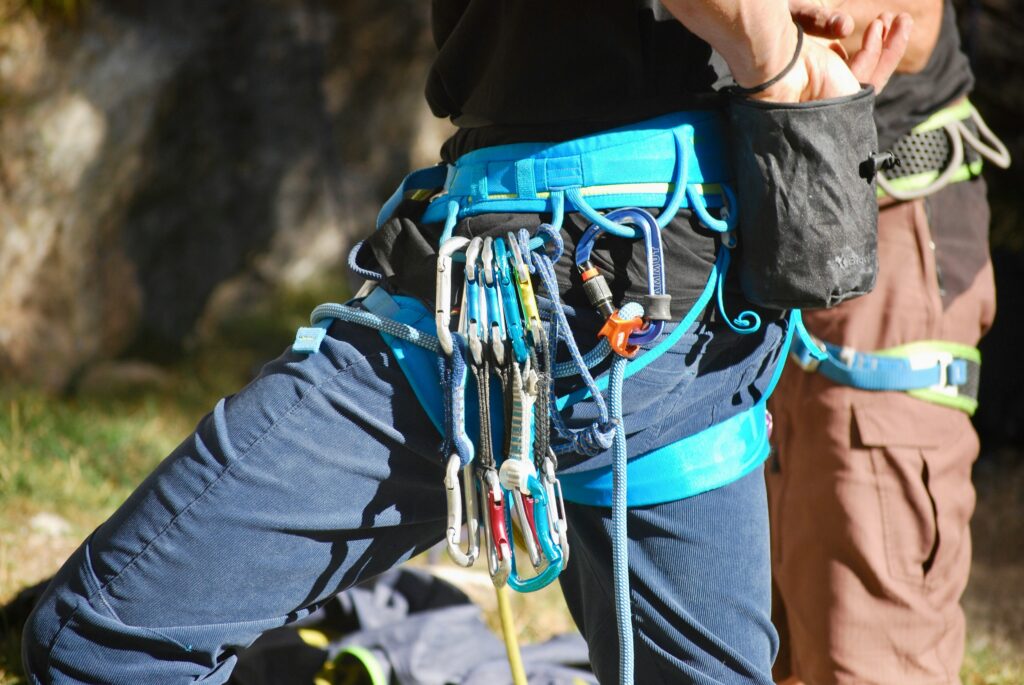
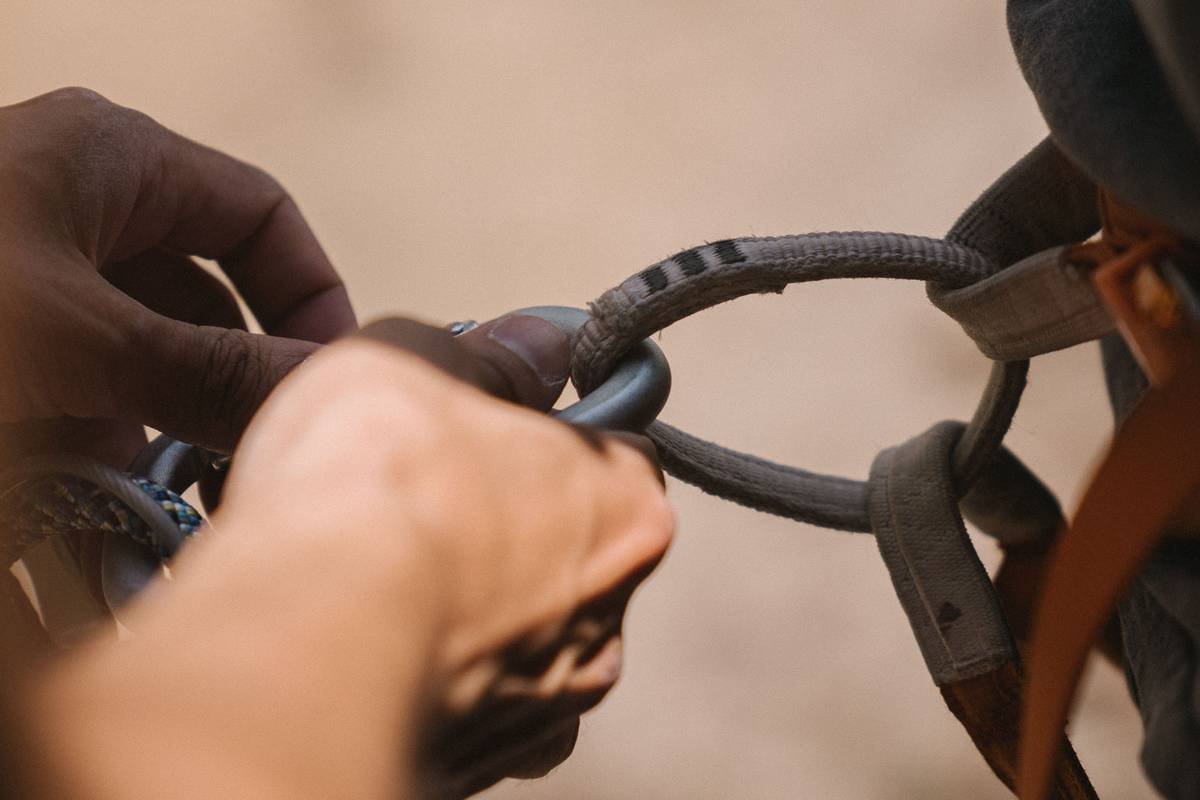
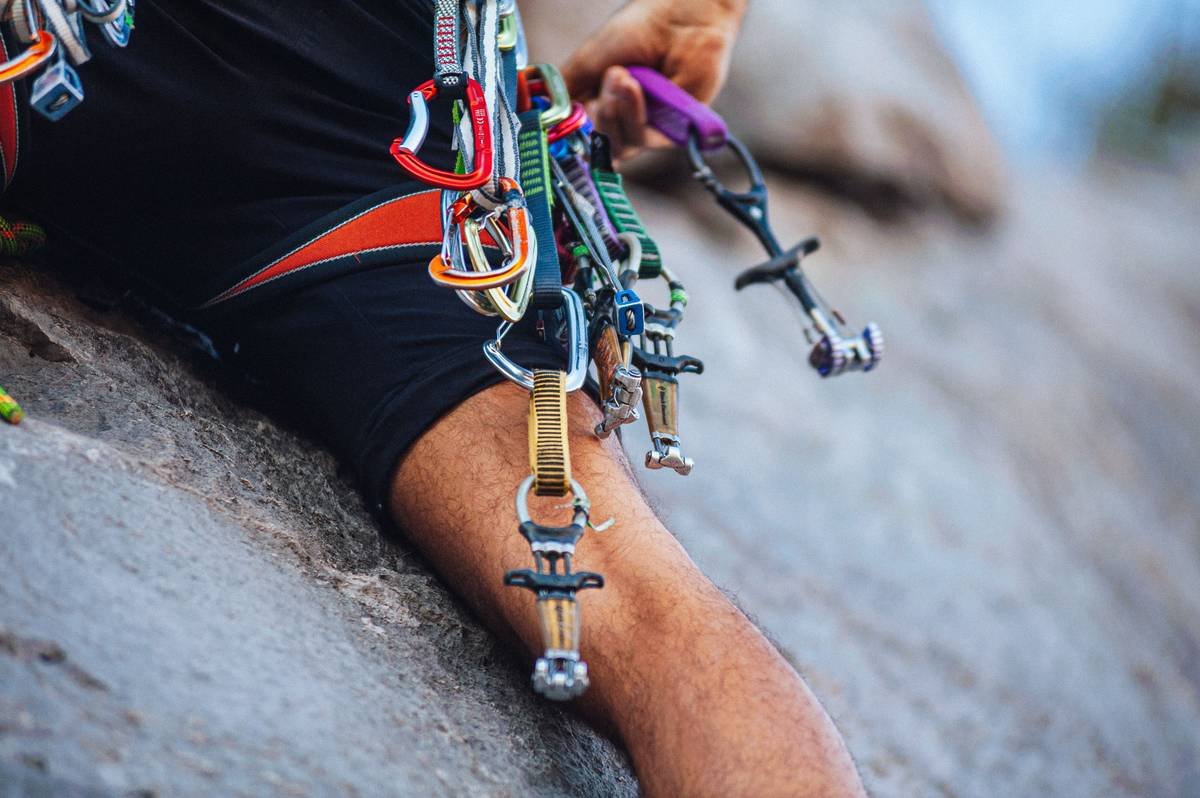
- Never Use Worn Carabiners With It: A nicked or cross-loaded carabiner reduces strength by up to 60%. Always pair your belay device with a fresh HMS/pear-shaped locking biner.
- Practice Lowering Weekly: Assisted-braking devices require a specific “panic lower” motion. If you’ve never done it under supervision, you’ll fumble during real emergencies.
- Carry a Backup on Multi-Pitch: A lightweight tube-style device in your pack lets you self-rescue if your primary fails. Ask me how I know…
Terrible “Tip” Alert 🚫
“Just eyeball the rope size—it’ll be fine!” Nope. In 2021, a climber in Colorado used a 10.8mm rope with a device rated to 10.0mm. The cam jammed mid-lower. Result: 8-foot drop onto ledge. Don’t be that person.
Rant Time: My Pet Peeve
Seeing influencers pose with shiny new GriGris… while back-clipping or z-clipping on lead. Gear doesn’t fix bad habits—it amplifies them. Stop treating safety tools like fashion accessories.
Real Climbers, Real Consequences: Case Studies
Case 1: The “Cheap Win” That Wasn’t
A Reddit user bought a $19 “GriGri clone” from Amazon. On his second outdoor climb, the cam sheared during a fall. He survived with a sprained ankle—but only because his belayer caught him manually. Independent lab tests later found the clone’s aluminum alloy was 40% weaker than aerospace-grade 7075-T6 used by Petzl.
Case 2: When Experience Saved the Day
On Yosemite’s Nose, veteran guide Lena M. noticed her ATC Guide had a hairline crack near the rope groove. She swapped to her backup pivot device mid-pitch. Later inspection showed fatigue from 400+ days of use. Her takeaway? “Inspect like your life depends on it—because it does.”
FAQs About Belay Climbing Gear
Can I use any belay device with any rope?
No. Rope diameter must fall within the device’s certified range. Using out-of-spec ropes voids UIAA/CE safety ratings. Always check manufacturer charts.
How often should I replace my belay device?
There’s no fixed timeline—but retire it if you see deep grooves, discoloration (from heat), or after any hard fall. Most guides replace theirs every 2–3 years with heavy use.
Are assisted-braking devices safer?
Yes—for competent users. The UIAA states they reduce belayer error by up to 70% when used correctly. But improper handling (e.g., incorrect hand position during lowering) introduces new risks.
Can I clean my belay device?
Yes. Rinse with freshwater after saltwater or desert climbs. Never use solvents. Dry thoroughly before storage. Salt and sand accelerate corrosion in hidden channels.
Is it okay to buy used belay gear?
Absolutely not. Internal damage is undetectable without X-ray testing. Reputable brands like Petzl explicitly void warranties on secondhand sales.
Conclusion
Your belay climbing gear isn’t just another piece of kit—it’s the silent guardian between you and disaster. Whether you’re clipping bolts at the gym or leading alpine pitches, choosing the right device, respecting its limits, and inspecting it ruthlessly isn’t optional. It’s the price of admission to this sport we love.
So next time you rack up, ask: “Is my belay gear ready—even if I’m not?” Because one day, it might have to answer for both of you.
Like a Tamagotchi, your safety system needs daily care. Feed it attention. Clean it gently. And never, ever ignore its warning signs.
Whirrrr… sounds like your brain processing all this. Good. Now go climb smart.