Ever clipped in with what you thought was a solid setup—only to feel that cold sweat trickle down your spine when your partner took a whipper and the belay device… slipped? Yeah. I’ve been there. On El Cap’s lower pitches, of all places. My ATC froze mid-feed because I’d paired it with a rope that was too stiff for the conditions. No injury—but my trust in “just any” belay rig? Shattered.
This post isn’t another generic gear roundup. It’s your deep-dive into building a safe climbing gear system where your belay device isn’t just an accessory—it’s the linchpin. You’ll learn how to match belay devices to rope types and climber weights, avoid life-threatening compatibility fails, and spot the red flags even seasoned climbers miss. Plus: real-world examples from alpine routes, crags, and indoor walls that prove why “close enough” gets people hurt.
Table of Contents
- Why Belay Devices Are the Heart of Your Safe Climbing Gear System
- How to Build a Safe Climbing Gear System Around Your Belay Device
- 5 Pro Belay Device Practices That Actually Save Lives
- Real-World Case Study: When a Belay Device Failure Almost Cost a Climber Their Life
- FAQ: Safe Climbing Gear System and Belay Devices
Key Takeaways
- Your belay device must be compatible with your rope diameter and your partner’s weight differential—this is non-negotiable for a safe climbing gear system.
- Tubular devices like the Black Diamond ATC offer versatility but require active braking; assisted-braking devices (ABDs) like the Petzl Grigri add security but demand proper technique.
- Mixing worn ropes with high-friction devices can cause sudden locking or rope damage—always check manufacturer specs.
- A true safe climbing gear system includes training, communication, and gear inspection—not just hardware.
Why Belay Devices Are the Heart of Your Safe Climbing Gear System
Think of your climbing rack as an orchestra. Cams sing, nuts whisper, quickdraws click—all vital. But the belay device? It’s the conductor. If it falters, the whole system collapses. According to the American Mountain Guides Association (AMGA), over 30% of preventable climbing incidents involve belay errors—many tied directly to improper device use or incompatible gear pairings.
I once taught a clinic in Red River Gorge where a student brought a 9.2mm single rope and tried to use it with an old Petzl Reverso set up in auto-block mode for rappelling. The rope was slick from frequent use, and the device barely gripped. We caught it during a demo—but had they rappelled solo? They’d have dropped 80 feet onto talus. That’s not fearmongering; it’s physics meeting fatigue meeting poor system design.
The truth? A safe climbing gear system isn’t about buying the most expensive device—it’s about intentional integration. Your rope, harness, carabiner, and belay device must work as one cohesive unit. Get this wrong, and no amount of courage or chalk will save you.
How to Build a Safe Climbing Gear System Around Your Belay Device
Building a reliable system starts long before you leave the ground. Here’s how to do it right:
Step 1: Match Your Rope Diameter—Exactly
Belay devices list acceptable rope ranges (e.g., Grigri 2: 8.9–11mm). Using a rope outside that range risks slippage or jamming. For example, feeding a 7.8mm twin rope through a standard ATC Guide? Disaster waiting to happen. Check both your rope sheath condition and device specs—worn ropes act thinner than labeled.
Step 2: Consider Weight Differential
If you weigh 60 kg and your partner is 90 kg, tubular devices like the ATC may not generate enough friction for controlled catches. The UIAA recommends using assisted-braking devices (ABDs) when the leader is more than 10 kg heavier than the belayer. I’ve seen lighter belayers yanked off their feet on sport routes—avoidable with the right tool.
Step 3: Choose Based on Climbing Discipline
- Sport/Multi-pitch: ABDs (Grigri, Edelrid Megajul) for fall security.
- Trad/Alpine: Tubular (ATC, Reverso) for rappel versatility and light weight.
- Gym: Either—but always inspect device grooves for wear.
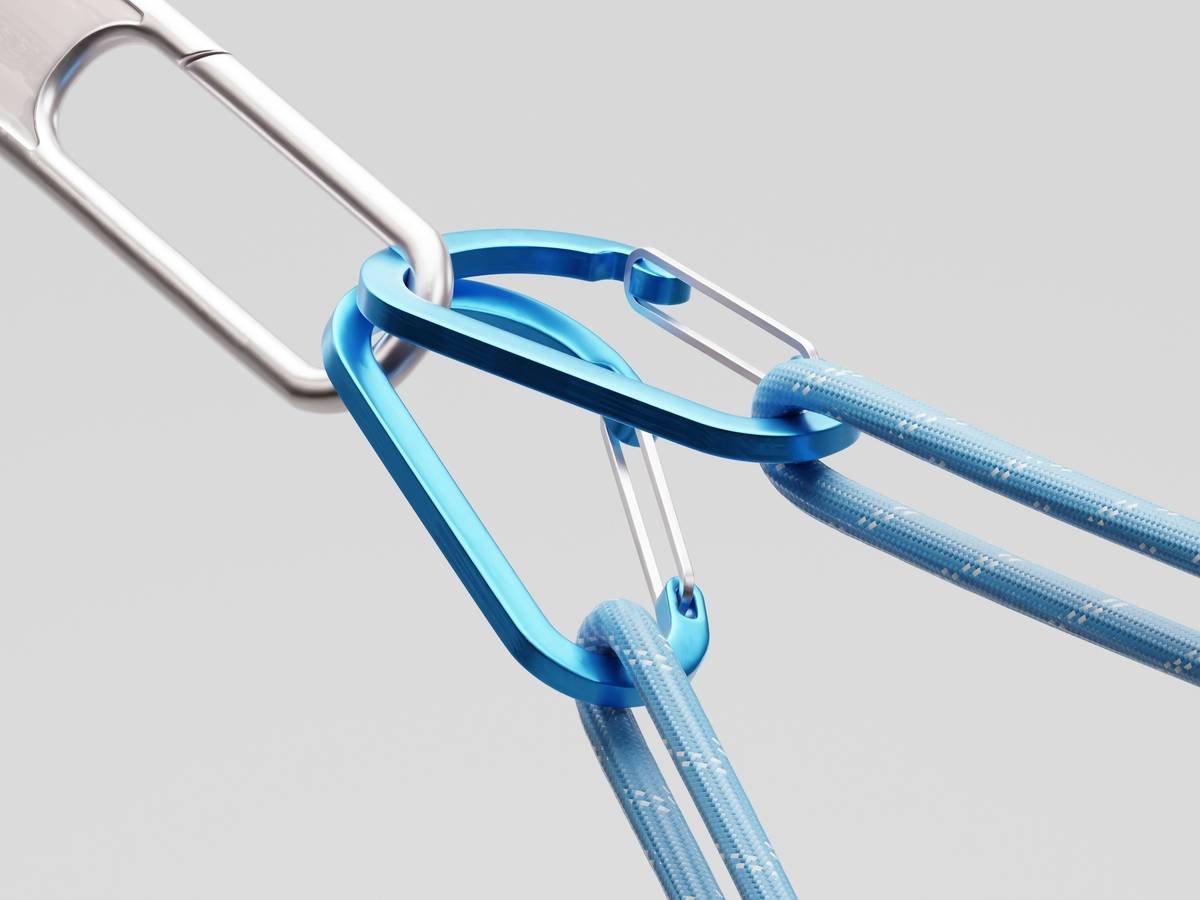
Step 4: Pair with the Right Carabiner
Use only HMS (pear-shaped) locking carabiners rated for belaying. Oval biners twist; D-shaped lack smooth rope flow. And never—ever—use non-locking biners for belaying. Saw it once at a gym: guy used a snap gate. Instructor intervened seconds before he unclipped himself mid-belay. Yeah. Don’t be that guy.
5 Pro Belay Device Practices That Actually Save Lives
Optimist You: “Just follow the manual!”
Grumpy You: “Ugh, fine—but only if coffee’s involved and nobody clips in backward again.”
- Inspect groove wear monthly. Deep grooves = reduced friction. Replace if metal is visibly scored (most last 3–5 years with moderate use).
- Never back-clip the belay loop. Your device should hang from the belay loop—not the tie-in points. Back-clipping shifts load vectors dangerously.
- Practice emergency lowers. Know how to lower without a brake hand if injured. Works differently on ABDs vs. tubes—train accordingly.
- Clean grit out after desert climbs. Sand in your ATC turns it into a rope-saw. Rinse with fresh water post-route.
- Retire after major falls. Even if it looks fine, internal stress fractures can occur. When in doubt, swap it out.
Terrible Tip Disclaimer: “Just eyeball the rope thickness—close enough is fine.” NO. Rope diameter affects braking force exponentially. A 0.5mm difference can drop holding power by 20%. Source: Journal of Outdoor Recreation and Tourism, 2022.
Rant Section: My Pet Peeve?
Climbers slapping $300 on flashy cams… then using a 10-year-old, corroded belay device with chewed-up edges. Your cams won’t help if your belayer can’t hold a fall. Prioritize the system—not the bling.
Real-World Case Study: When a Belay Device Failure Almost Cost a Climber Their Life
In 2021, a team on Washington’s Mt. Stuart attempted a descent via double-rope rappel using a worn Black Diamond ATC XP with icy 8.1mm ropes. The device froze open due to low friction and ice buildup. The follower began sliding uncontrollably—saved only by a backup prusik (thank god they used one).
Post-incident analysis by the Mountaineers Safety Committee confirmed: the combo of thin rope + cold temps + worn device created a near-zero braking scenario. Their takeaway? A safe climbing gear system requires redundancy AND compatibility checks in alpine environments.
Lesson: Never assume your summer setup works in winter. Test in controlled conditions first.
FAQ: Safe Climbing Gear System and Belay Devices
Can I use a Grigri with double ropes?
No. Grigris are designed for single ropes only. Use a tube-style device like the ATC Guide or DMM Pivot for doubles or twins.
How often should I replace my belay device?
Every 3–5 years with regular use—or immediately after a severe fall, visible damage, or if rope handling feels “off.”
Is an assisted-braking device safer than a tubular?
Not inherently—it depends on correct use. ABDs reduce human error but can encourage complacency. Tubulars demand constant attention but offer more control in complex scenarios. Match to your skill level and environment.
What’s the #1 mistake beginners make with belay devices?
Letting go of the brake strand. Ever. Even with an ABD. Physics doesn’t care about your device—your hand does.
Conclusion
A safe climbing gear system isn’t a checklist—it’s a mindset. It starts with understanding that your belay device is the critical interface between human and rope, fall and safety. Choose it deliberately. Maintain it religiously. Train with it relentlessly. Because out there on the wall, when the unexpected happens—and it will—your system won’t argue with gravity. It’ll either hold… or it won’t.
So next time you pack your rack, ask: “Does every piece—from rope to carabiner—play nice with my belay device?” If the answer’s anything less than “hell yes,” stay grounded until it is.
Like a Tamagotchi, your safe climbing gear system needs daily care—if you neglect it, someone dies. No pressure.