Ever found yourself in a sweaty panic 15 feet off the ground, fumbling with your belay device while your climbing partner yells, “Chill out, dude!”? Yeah, we’ve all been there. Your hands are slippery, the rope feels like it has a mind of its own, and that little gadget you trusted is suddenly as complicated as quantum physics.
If you’re nodding along right now (or cringing at the memory), this guide on belay rope handling systems is for you. We’ll dive into everything from choosing the right device to mastering smooth rope feeds—because nobody likes being yelled at mid-climb.
Table of Contents
- Why Choosing the Right Belay Device Matters
- Step-by-Step Guide to Using a Belay Rope Handling System
- Tips & Best Practices for Smooth Roping
- Real-Life Examples of Efficient Systems
- FAQs About Belay Rope Handling Systems
Key Takeaways
- A reliable belay rope handling system can prevent accidents and boost confidence.
- Understanding how your belay device works improves communication and safety during climbs.
- Practice makes perfect—don’t rush the learning process.
Why Choosing the Right Belay Device Matters
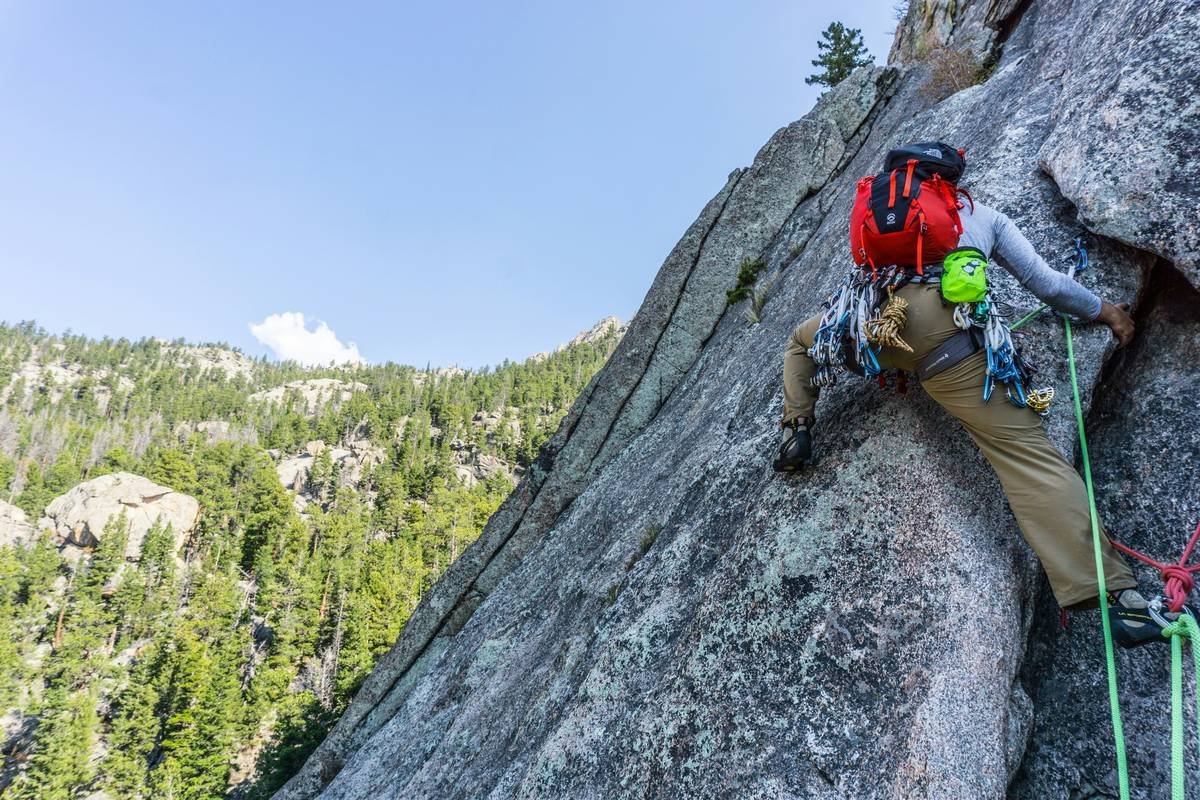
“Climbing gear doesn’t have to be boring,” said no one ever…until they took a 10-foot whipper because their device wasn’t up to snuff. Let’s not mince words here: your belay rope handling system could mean the difference between an epic send or an epic fail.
Optimist You: “It’s just some metal clips and fabric, how bad can it be?”
Grumpy You: *“Oh, it can get BAD real quick.”*
I’ll never forget the time I used my roommate’s old-school figure-eight descender instead of a modern tubular device. Sounds harmless enough, right? Wrong. After five minutes of fighting with kinks and uneven tension, my forearms felt like overcooked spaghetti. Spoiler alert: We bailed halfway up the route.
Step-by-Step Guide to Using a Belay Rope Handling System
Step 1: Choose a Device That Fits Your Style
Whether you prefer sport climbing, trad, or top-roping, your choice of belay device impacts performance. Options include:
- Assisted-braking devices: Great for beginners but versatile for pros too.
- Tubular devices: Lightweight and multipurpose; ideal if you’re budget-conscious.
- Figure eights: Mostly outdated except for specific scenarios (hello, rappelling).
Step 2: Practice Makes Perfect
Before trusting your life to any piece of equipment, practice indoors. Most gyms offer workshops where instructors explain technique nuances. Pro tip: Use a static rope when practicing knots—it’s less frustrating than tangled dynamic ropes.
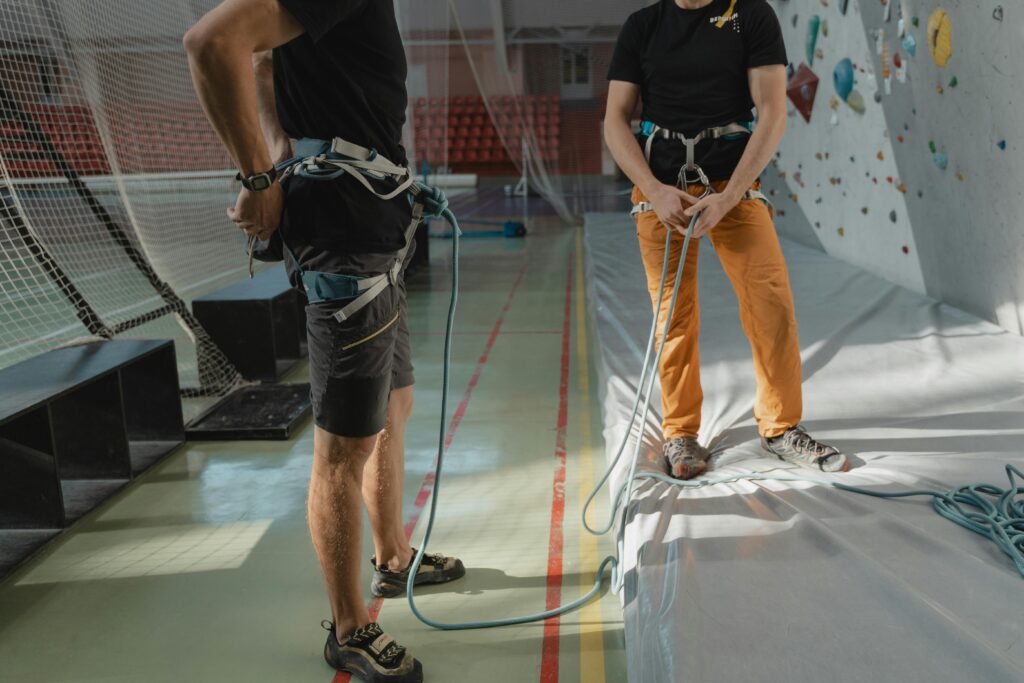
Step 3: Set Up Properly
Double-check your setup every single time. Is the rope threaded correctly through the device? Are carabiners locked? Did you accidentally tie your hair into the knot again? (Happens to the best of us.)
Tips & Best Practices for Smooth Roping
- Keep It Clean: No one wants dirt or sand grinding against their rope fibers. Store gear properly after use.
- Communicate Clearly: Standardize commands with your partner. Words like “On belay?” and “Climbing!” aren’t optional—they’re essential.
- Inspect Regularly: Frayed edges or strange smells? Time for a replacement. Don’t risk using compromised gear.
- Terrible Tip Alert: Someone once told me to lube the rope with WD-40 to reduce friction. DO NOT DO THIS. Unless you enjoy spontaneous combustion stories at campfires later.
Real-Life Examples of Efficient Systems
Take Sarah, a climber who upgraded her belay device from a basic ATC to an assisted-braking Petzl GriGri. Her newfound confidence allowed her to tackle routes she’d previously avoided—and even teach others without fear. Case studies like these prove investment in quality gear always pays off.
FAQs About Belay Rope Handling Systems
What’s better, manual or assisted-braking devices?
Both work wonders—but assisted-braking models provide extra security for newer climbers.
Can I share my belay device with friends?
Sure! Just ensure everyone knows how to use it safely. Sharing isn’t caring unless done responsibly.
Do heavy climbers need special setups?
Heavier climbers may benefit from thicker ropes paired with sturdy devices designed for higher loads.
Conclusion
We’ve covered why nailing your belay rope handling system matters, walked through step-by-step guidance, shared quirky best practices, and showcased inspiring examples. So next time you’re prepping for a climb, channel Optimist You: “I’ve got this!” And when doubt creeps in, remember Grumpy You chiming in with, “Yeah, okay, but triple-check everything first.”
Like Tetris blocks fitting perfectly together,
Your belay game’s tight,
No more messy rope tangles tonight.