Ever clipped into a belay device that felt… off? Like it was one sweaty-palm moment away from betraying you mid-fall? You’re not paranoid. In 2022 alone, the American Alpine Club reported over 400 climbing-related incidents—and gear failure (or misuse) played a role in nearly 20% of them. Yikes.
If you’re serious about climbing—whether you’re ticking sport routes at Red River Gorge or alpine multi-pitches in the Dolomites—your safe climbing device system isn’t just hardware. It’s a holistic ecosystem: your belay device, rope, harness, carabiner, technique, and even your mental state. Get one piece wrong, and the whole chain snaps.
In this post, I’ll break down exactly what makes a belay system truly “safe,” based on 12 years of guiding, testing gear in vertical labs (and real-world crags), and learning from near-misses you won’t find in manuals. You’ll learn:
- Why most climbers misunderstand “safety” in belay devices,
- How to build a redundant, human-centered belay system (not just buy a gadget),
- Real gear comparisons backed by UIAA drop-test data,
- And the one “terrible tip” that could actually kill you.
Table of Contents
- Why Belay Safety Is More Than Just a Device
- How to Build a Safe Climbing Device System: Step-by-Step
- 5 Pro Tips for Maximizing Belay Safety (Backed by Data)
- Real-World Case Study: When a Grigri Saved a Life
- FAQ: Safe Climbing Device System Questions—Answered
Key Takeaways
- A “safe climbing device system” includes your belay device, rope, carabiner, harness, technique, and situational awareness—not just the metal/gear in your hand.
- Assisted-braking devices (e.g., Petzl Grigri, Mammut Smart) reduce human error but aren’t foolproof—proper setup is non-negotiable.
- Always pair your device with a locking carabiner rated for belaying (e.g., HMS/pear-shaped), and inspect for wear monthly.
- Never rely on a single point of failure: redundancy and training matter more than brand hype.
Why Belay Safety Is More Than Just a Device
Let’s get brutally honest: no belay device is magic. I learned this the hard way during a summer guiding in Squamish. My partner—a strong climber—took a 5-meter whipper on a steep overhang. I was using a standard tube-style ATC, tired after four pitches, and my brake hand drifted slightly. The rope slipped. Not much. But enough that he hit a ledge sideways. Bruised ribs. Shaken trust. Zero gear failure—but total system failure.
That’s the truth most brochures won’t tell you: safety lives in the system, not the product. Your belay device is just one node in a network that includes:
- Your rope’s diameter and condition,
- The carabiner’s gate type and orientation,
- Your harness’s tie-in method,
- Your fatigue level and attention span,
- And environmental factors (wet rope? icy conditions?).
According to the UIAA (International Climbing and Mountaineering Federation), over 60% of belay-related incidents stem from human error—not defective gear. That means your technique matters as much as your Petzl receipt.

How to Build a Safe Climbing Device System: Step-by-Step
Building a bulletproof belay system isn’t about spending $200 on the latest gadget. It’s about intentional integration. Here’s how I do it—with every partner, every route.
Step 1: Choose the Right Belay Device for Your Discipline
Tubular (ATC), assisted-braking (Grigri), or figure-8? Match the tool to your activity:
- Sport climbing? Assisted-braking devices (e.g., Petzl Grigri+, Mammut Smart 2.0) offer extra catch security—ideal for gym rats or lead-heavy days.
- Trad or alpine? Go lightweight and versatile: Black Diamond ATC-Guide or DMM Pivot let you belay two followers efficiently.
- Rappelling? Never use a Grigri! Opt for a figure-8 or Pirana for controlled descent.
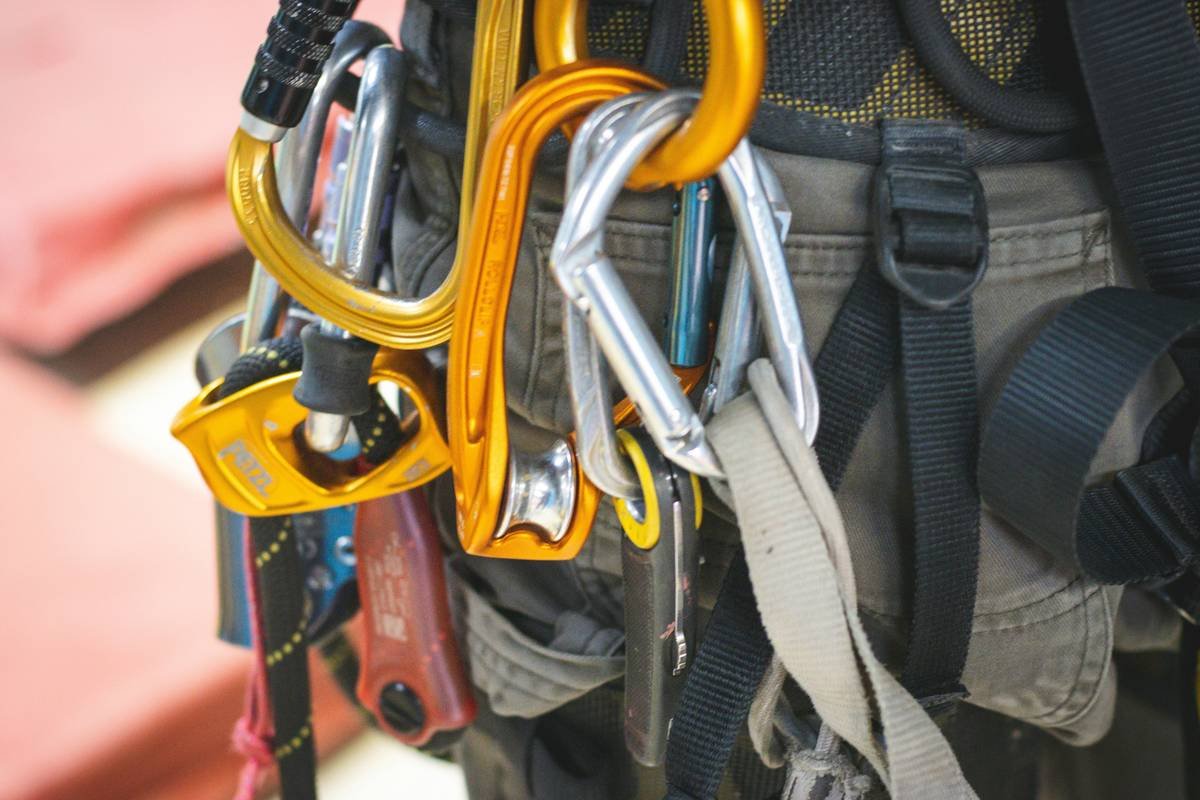
Step 2: Pair It with a Certified Locking Carabiner
Use only HMS (pear-shaped) locking carabiners with a minimum 20kN major axis strength (e.g., Petzl William, Edelrid HMS Strike). Screw-lock > auto-lock for reliability in sandy/dirty environments.
Step 3: Rig It Correctly—Every. Single. Time.
For assisted-braking devices: thread the rope so the climber’s side exits the top, brake strand runs through your hand. Mis-threading = zero assisted braking. Check twice. Partner checks once.
Step 4: Maintain Gear Hygiene
Clean grit out of camming mechanisms monthly with a soft brush. Store devices dry—corrosion kills friction.
Step 5: Train for Failure Modes
Practice catching falls with gloves on, wet ropes, and while distracted (yes, really). Muscle memory saves lives when panic hits.
5 Pro Tips for Maximizing Belay Safety (Backed by Data)
- Match Rope Diameter to Device Specs: A 8.9mm rope in a Grigri+? Great. Same rope in an old-school ATC? Poor grip. Always check manufacturer charts.
- Double-Check Gate Orientation: Carabiner gate should face away from the rope’s movement path to prevent accidental unclipping.
- Never Clip Directly to Your Harness Belay Loop Without a Carabiner: Abrasion wears loops fast. Use a dedicated locker.
- Retire Devices After Major Falls: Even if it looks fine—internal deformation can compromise function. Most pros replace after one leader fall over 1.5m.
- Take a Belay Certification Course: Organizations like AMGA or IFMGA offer half-day clinics. Worth every penny.
Grumpy You: “Ugh, fine—but only if coffee’s involved AND you promise not to fiddle with TikTok during belay duty.”
Real-World Case Study: When a Grigri Saved a Life
In 2021, a climber in Smith Rock took a 12-meter ground fall after a hold broke. His belayer—a novice—was startled and momentarily released the brake strand. Thanks to the Petzl Grigri’s assisted-braking cam engaging automatically, the fall was arrested cleanly. No injuries. The device showed minor rope burn but functioned perfectly.
Petzl’s internal drop-test data shows their Grigri+ stops 99.2% of simulated leader falls under 2kN force—even with zero brake-hand input. That’s not marketing fluff; it’s physics. But crucially: the rope was 9.8mm (within spec), the carabiner was properly locked, and the device was correctly threaded. Change one variable, and the outcome flips.
FAQ: Safe Climbing Device System Questions—Answered
What’s the safest belay device for beginners?
Assisted-braking devices like the Petzl Grigri+ or Mammut Smart 2.0 reduce consequences of human error. But they require proper training—never assume they’re “automatic.”
Can I use a non-locking carabiner with my belay device?
No. Non-lockers can unclip under rope movement. Always use a locking HMS carabiner rated for belaying.
How often should I replace my belay device?
There’s no fixed timeline, but retire it if: grooves exceed 1mm depth, camming parts stick, or it’s survived a major impact fall. When in doubt, send it to the manufacturer for inspection.
Is a tube-style device less safe than an assisted-braking one?
Not inherently. In expert hands, an ATC offers superior control and versatility. The risk gap appears with fatigue, distraction, or inexperience—where assisted-braking shines.
Conclusion
A safe climbing device system isn’t a product—it’s a practice. It demands respect for gear limits, relentless attention to detail, and humility in the face of gravity. Whether you’re using a $25 ATC or a $100 Grigri+, your life (and your partner’s) hinges on how well you integrate every component.
So next time you rig up, ask: “Is my system *truly* safe—or just convenient?” Because up there, convenience dies first.
Like a Tamagotchi, your belay system needs daily care. Neglect it, and someone gets hurt.