Ever reached the crux of a climb, only to realize your rope looks suspiciously frayed? Yeah, that sinking feeling is why rope inspection protocols exist. Ignoring this critical step can turn an epic adventure into a regrettable accident—trust me, I’ve been there.
In this article, we’ll break down *exactly* how to inspect your climbing ropes like a pro. From spotting sneaky abrasions to understanding manufacturer guidelines, you’ll learn it all. We’ll also explore key climbing belay devices and their role in keeping your gear safe. Ready? Let’s dive in!
Table of Contents
Key Takeaways
- Rope inspection protocols save lives by catching wear and tear before climbs.
- Climbing belay devices work best when paired with well-maintained ropes.
- Inspections should include visual checks, tactile tests, and regular cleaning.
- Ignoring maintenance routines increases risk; don’t be that climber!
Why Rope Inspection Matters
Imagine trusting your life to a piece of equipment you haven’t checked in ages. Sounds risky, right? That’s because it absolutely is. Ropes endure immense stress during climbs, whether from falls, sharp edges, or constant friction against rocks. Over time, even minor damage compounds, making proper rope inspection non-negotiable.
Here’s my confession: Once, I skipped inspecting my rope after a particularly grueling trip. Big mistake. Halfway through a climb, I noticed blackened fibers near the knot. I made it down safely, but the lesson stuck—don’t gamble with safety.
Step-by-Step Guide to Inspecting Your Rope
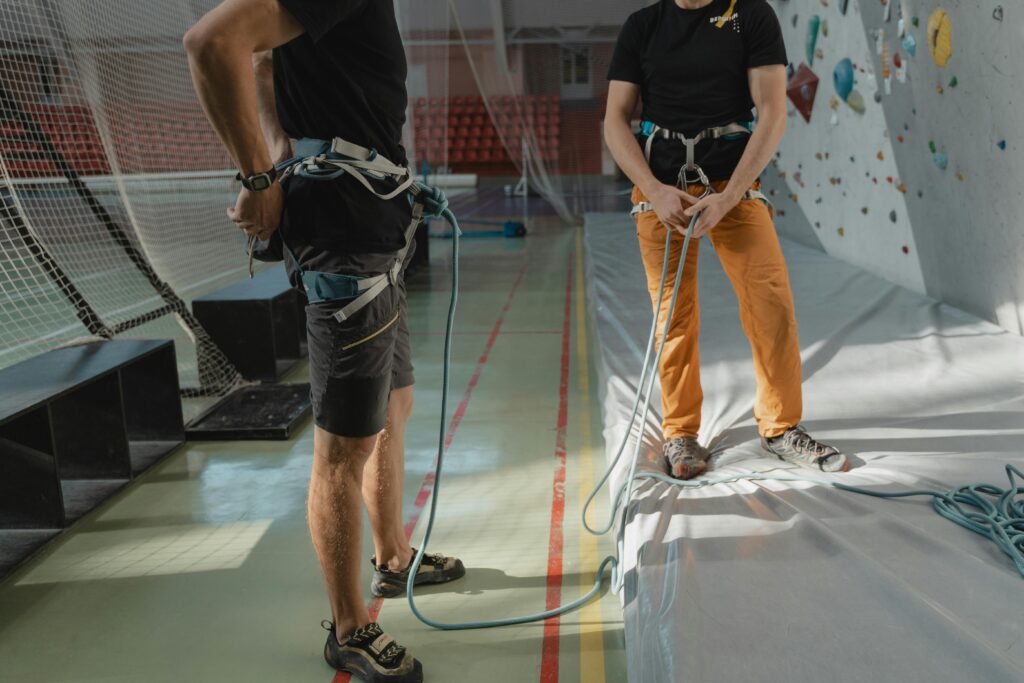
Step 1: Lay Out Your Rope
Uncoil your rope completely and lay it out flat on a clean surface. This lets you spot kinks, twists, or abnormalities easily.
Step 2: Conduct a Visual Check
Look closely for discoloration, fuzziness, or exposed core strands. Pay special attention to areas around knots or where the rope contacts hardware like carabiners or climbing belay devices.
Step 3: Feel for Irregularities
Run your hands along the length of the rope. Any bumps, soft spots, or stiff sections are red flags indicating potential internal damage.
Step 4: Smell It (Seriously)
A funky smell might signal chemical exposure or mold. Both compromise rope integrity—toss any rope that reeks.
“Optimist You:”
“These quick steps will keep your gear reliable!”
“Grumpy You:”
“Ugh, fine—but only if coffee’s involved.”
Best Practices for Maintaining Your Climbing Gear
- Clean Regularly: Wash your rope with mild soap and water every few months.
- Store Properly: Keep it away from direct sunlight and chemicals.
- Inspect After Falls: High-impact events warrant immediate post-climb inspections.
Pro Tip: Use climbing belay devices designed for longevity—they reduce unnecessary strain on your rope.
Real-Life Case Study: A Close Call with a Failed Rope
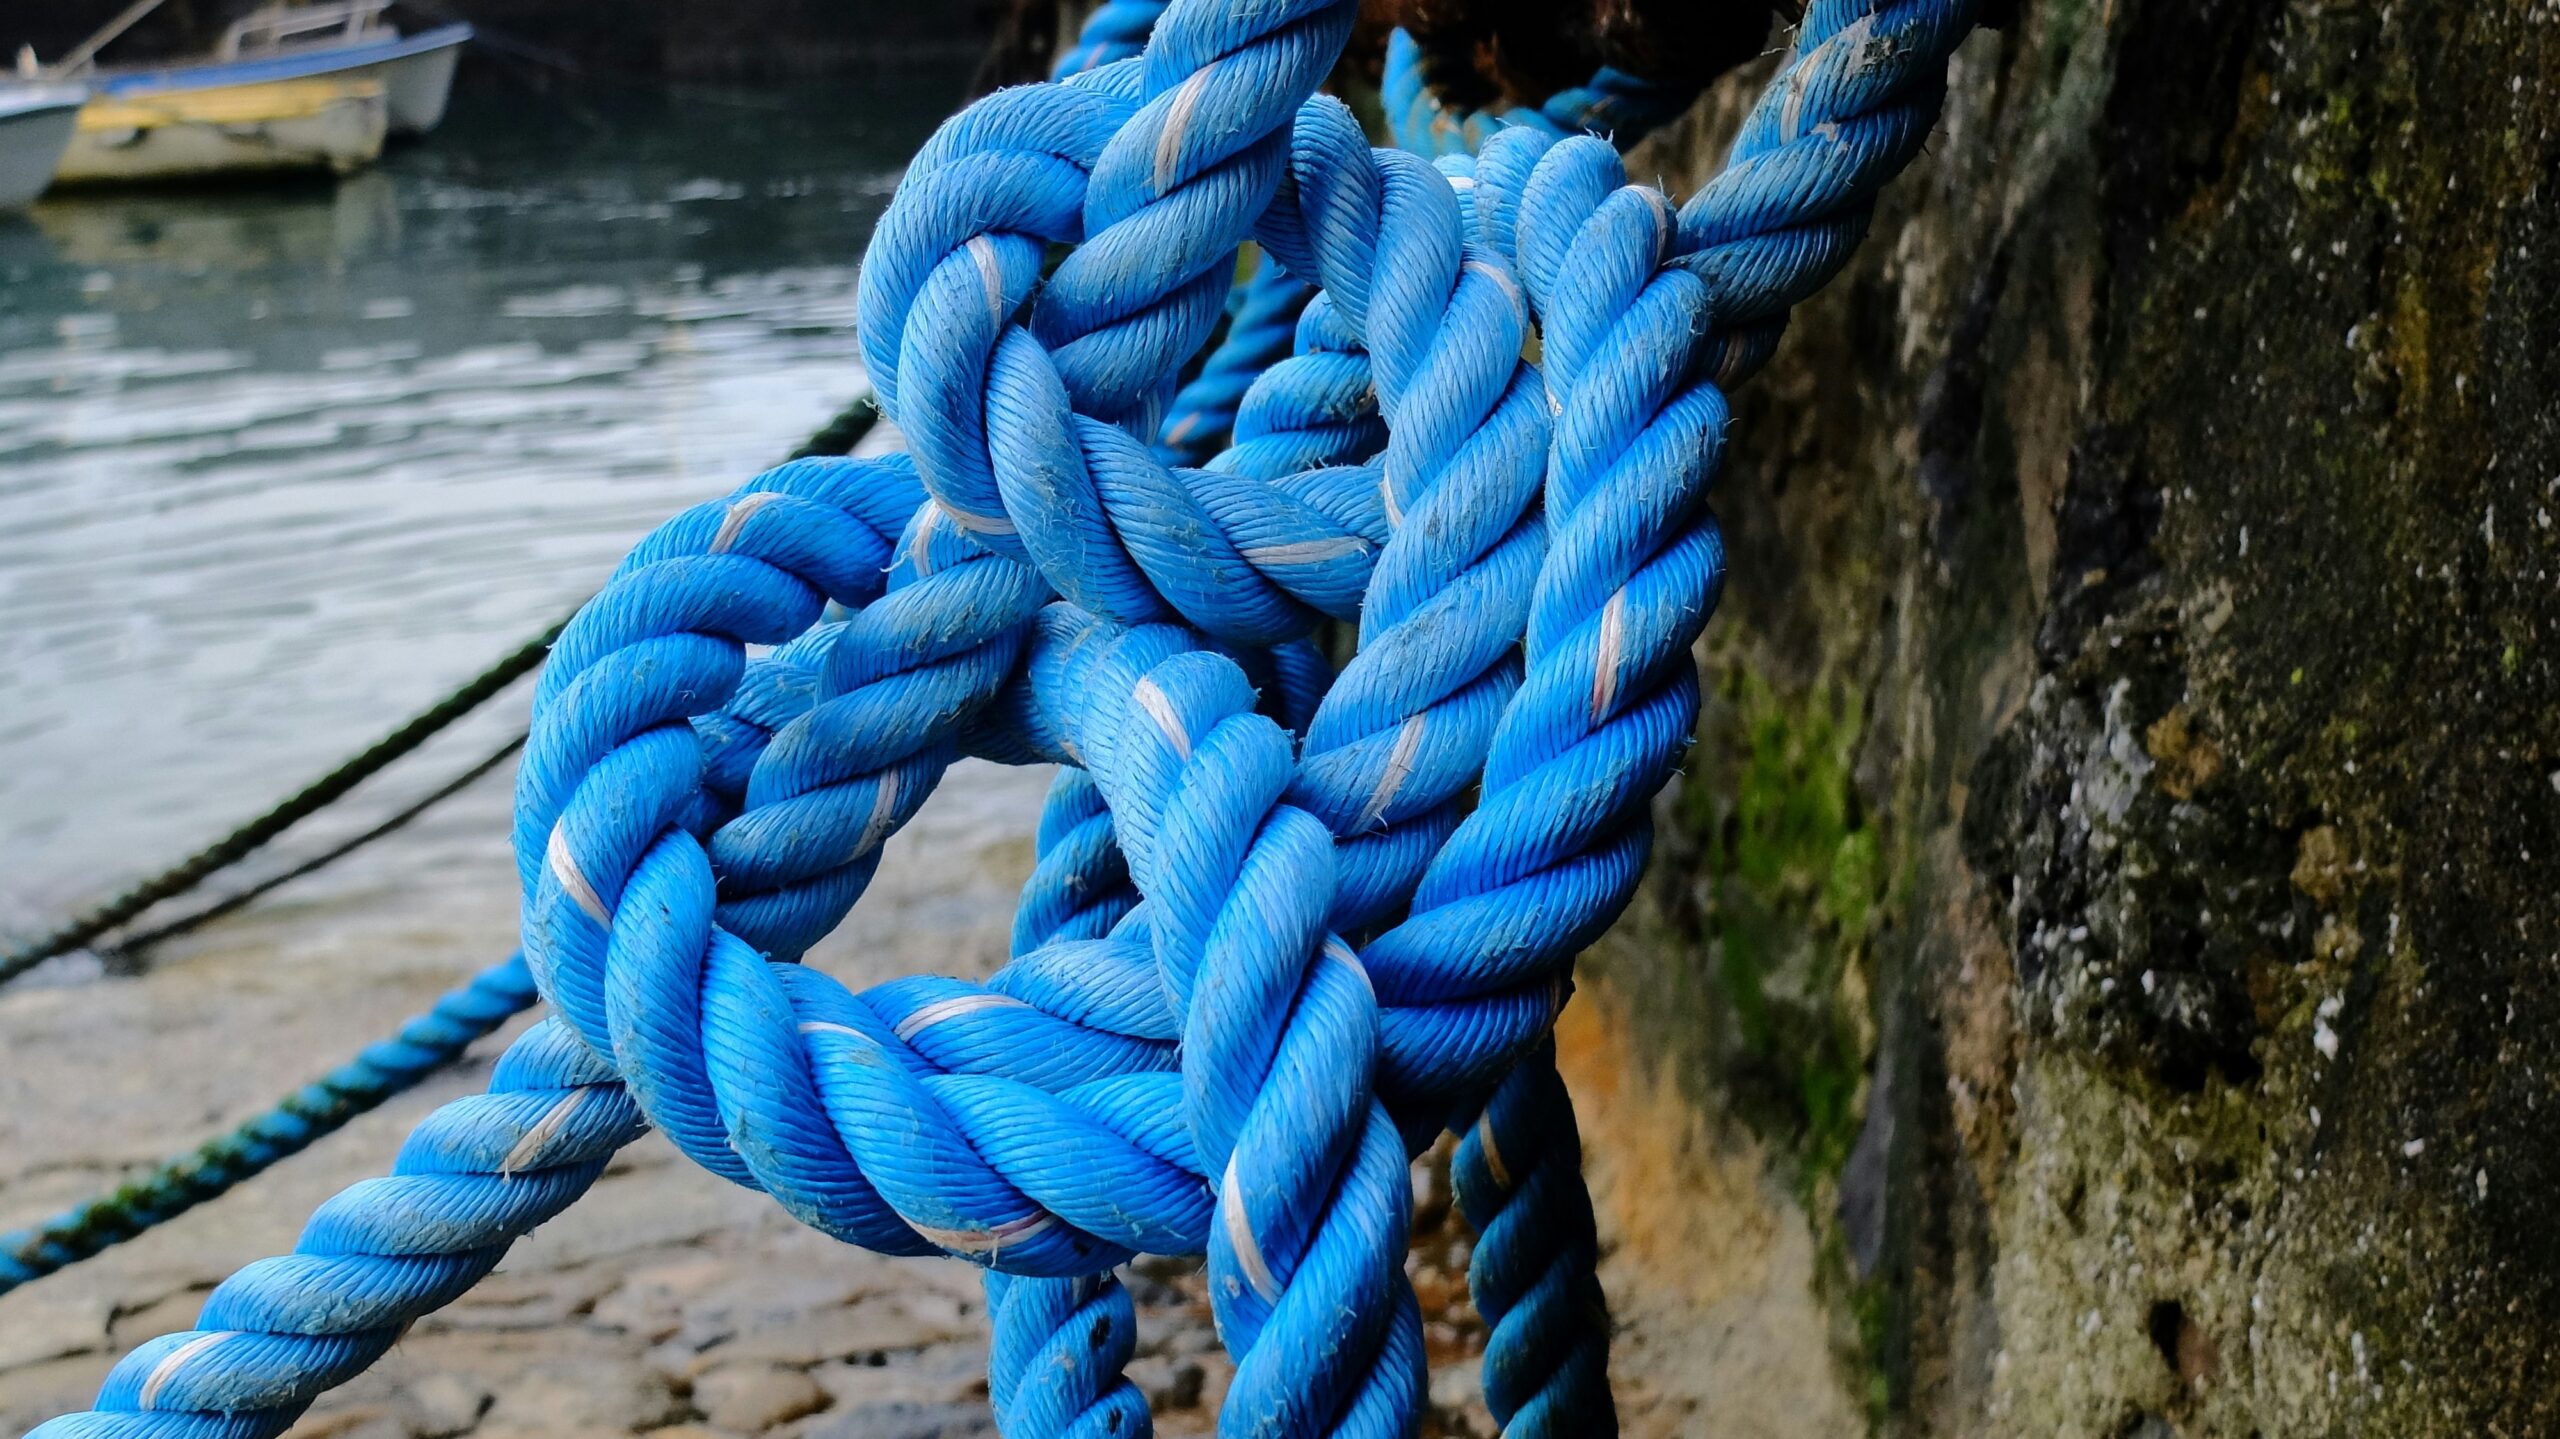
A friend of mine once took a lead fall mid-route. His rope snapped—not dramatically, just suddenly gave way. He was lucky enough to land without injury, but upon closer inspection, his rope showed clear signs of neglect: dry rot, dirt caked into fibers, and uneven stiffness.
This could have ended tragically. Moral? Never underestimate the importance of routine checks.
FAQs About Rope Inspection and Climbing Belay Devices
How Often Should I Inspect My Rope?
Inspect before every climb and perform deep cleans quarterly.
Can Climbing Belay Devices Damage Ropes?
Only if misused or overly worn. Always check both pieces of gear for compatibility.
What Happens If I Skip Inspection?
You risk accidents, injuries, and potentially ruining expensive gear. Don’t do it.
Conclusion: Wrap Up Your Climbing Safety Checklist
Rope inspection protocols aren’t optional—they’re essential. Whether you’re scaling cliffs or teaching beginners, prioritizing gear care ensures everyone goes home safely. And hey, while no one loves doing chores, treating your climbing belay devices and ropes right means more time enjoying adventures instead of replacing busted gear.
So grab that cup of coffee, sit down, and give your rope some love. Remember: Like a Tamagotchi, your climbing gear needs daily care to thrive.