Published on: [Publication Date]
By: [Author Name]
Table of Contents
Introduction
Ever found yourself halfway up a mountain, wishing you had a better belay device? Yeah, we’ve all been there. The right safe climbing system tool can make the difference between a smooth ascent and a nerve-wracking ordeal.
In this post, we’ll dive deep into the world of climbing belay devices, helping you choose the perfect safe climbing system tool for your next adventure. You’ll learn why these tools are essential, how to pick the right one, and best practices for using them. Let’s get started!
Key Takeaways
- Understanding the importance of a safe climbing system tool.
- A step-by-step guide to choosing the right belay device.
- Tips and best practices for using belay devices effectively.
- Real-world examples and case studies to inspire your next climb.
- Answers to frequently asked questions about climbing belay devices.
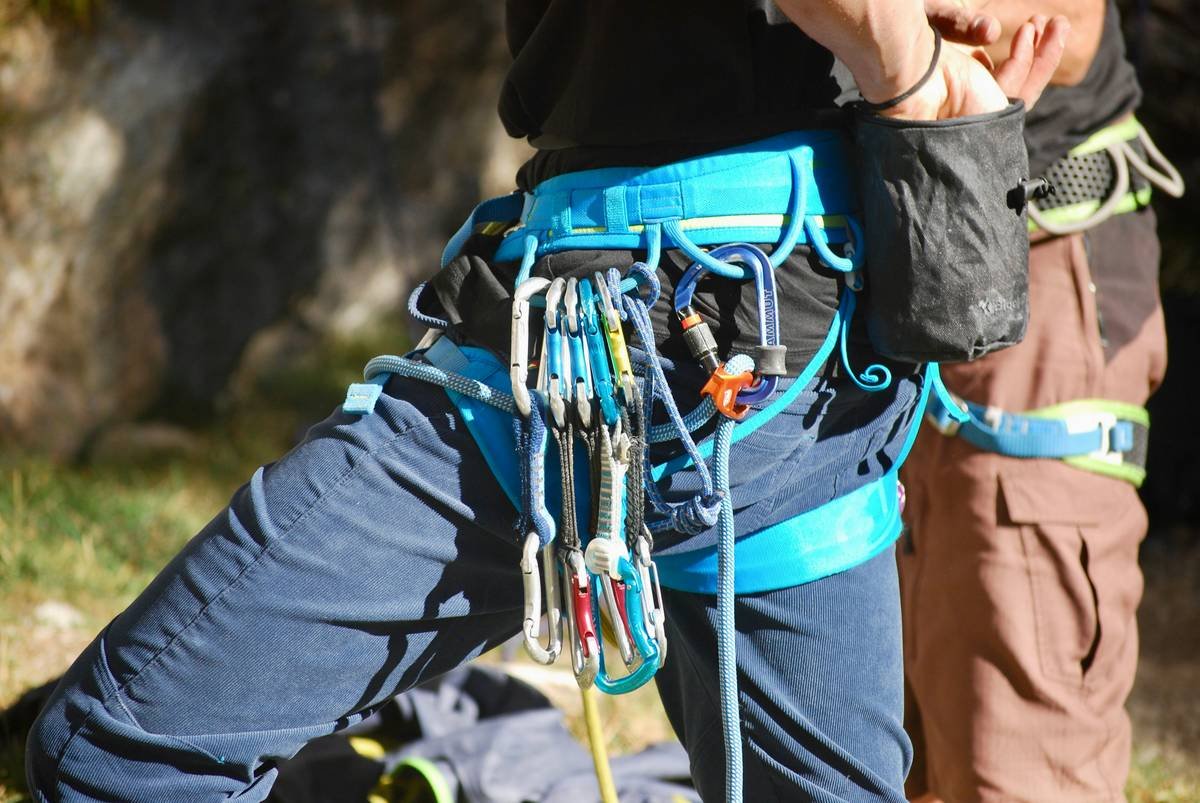
Why Do You Need a Safe Climbing System Tool?
Imagine this: you’re clinging to a rock face, your heart pounding, and the only thing keeping you from a long drop is a small piece of equipment. Sounds like your laptop fan during a 4K render—whirrrr. That’s the sound of a reliable belay device in action, and it’s not just noise; it’s a lifeline.
Belay devices are crucial for several reasons:
- Safety: They provide a secure anchor point, ensuring that if you slip, you won’t fall too far.
- Control: They allow you to control the speed and direction of your descent, making it smoother and safer.
- Versatility: They can be used in various climbing scenarios, from indoor gyms to outdoor cliffs.
Step-by-Step Guide to Choosing the Right Belay Device
Step 1: Assess Your Climbing Needs
Optimist You: “Let’s start by understanding what you need!”
Grumpy You: “Ugh, fine—but only if coffee’s involved.”
Consider the type of climbing you’ll be doing. Are you mostly indoor or outdoor? Do you prefer single-pitch or multi-pitch routes? These factors will help you narrow down your options.
Step 2: Research Different Types of Belay Devices
Optimist You: “There are so many great options out there!”
Grumpy You: “Yeah, and they all sound the same. Can we just pick one?”
Familiarize yourself with the different types of belay devices, such as assisted-braking devices, tubular devices, and auto-locking devices. Each has its pros and cons, so it’s important to understand what each one offers.
Step 3: Read Reviews and Compare Features
Optimist You: “Let’s see what other climbers think!”
Grumpy You: “Just give me the facts, no drama, please.”
Read reviews from experienced climbers and compare the features of different devices. Look for things like ease of use, durability, and compatibility with your current gear.
Step 4: Test Before You Commit
Optimist You: “Try before you buy, right?”
Grumpy You: “If I have to rent another piece of gear, I swear…”
If possible, try out different belay devices at your local climbing gym or outdoor store. This hands-on experience can help you make a more informed decision.
Terrrible Tip Disclaimer
Terrible Tip: “Don’t bother reading reviews; just buy the cheapest one. It’s all the same, right?”
Grumpy You: “No, it’s not. Trust me, you don’t want to be stuck with a dud.”
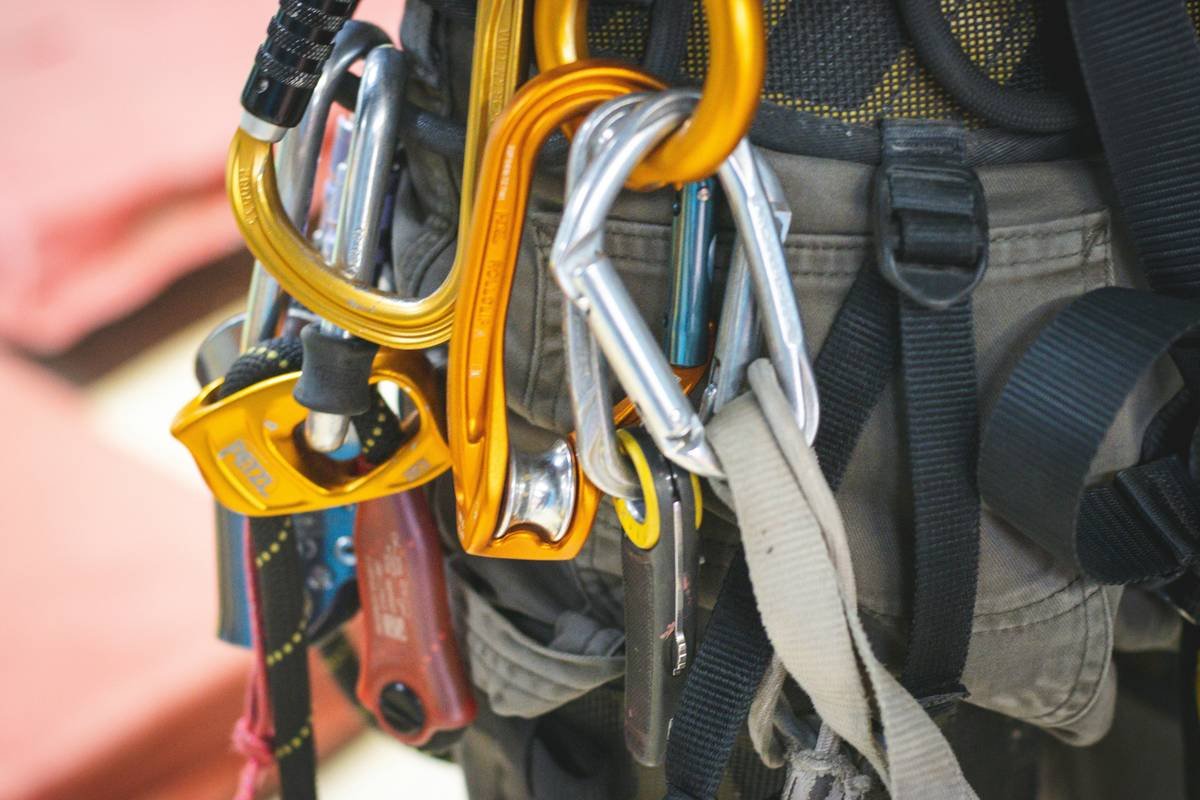
Tips and Best Practices for Using Belay Devices
- Always Follow Manufacturer Guidelines: Each belay device comes with specific instructions. Make sure to read and follow them carefully.
- Inspect Your Equipment Regularly: Check your belay device for any signs of wear and tear before each use. Safety first!
- Practice Makes Perfect: Spend some time practicing with your new belay device before taking it on a real climb. Get comfortable with its features and how it works.
- Stay Focused: When belaying, stay focused on your partner and the task at hand. Distractions can lead to mistakes.
- Use Proper Technique: Learn and practice proper belaying techniques. This will help you manage the rope more effectively and keep both you and your partner safe.
Real-World Examples and Case Studies
Let’s take a look at a few real-world examples of climbers who made the right (and wrong) choices when it comes to their belay devices.
Case Study 1: The Success Story
John, an experienced climber, decided to upgrade his old tubular belay device to a new assisted-braking device. He spent time researching and eventually chose a highly-rated model. During his next big climb, John felt more secure and confident, thanks to the added safety features of his new device.
Case Study 2: The Near Miss
Lisa, a beginner climber, bought a cheap, generic belay device without doing any research. On her first outdoor climb, the device malfunctioned, and she had to be rescued. This incident taught her the importance of investing in quality gear and following best practices.
Frequently Asked Questions (FAQs)
What is the best belay device for beginners?
For beginners, a tubular belay device is often recommended due to its simplicity and ease of use. However, an assisted-braking device can also be a good choice for added safety.
How often should I replace my belay device?
Generally, you should replace your belay device every 5-7 years, depending on the manufacturer’s recommendations and the condition of the device. Always inspect your equipment regularly for signs of wear and tear.
Can I use any type of rope with my belay device?
No, you should always use the type of rope that is compatible with your belay device. Check the manufacturer’s guidelines for specific recommendations.
Conclusion
Choosing the right safe climbing system tool is crucial for a successful and enjoyable climbing experience. By understanding the importance of a belay device, following a step-by-step guide to choosing the right one, and adhering to best practices, you can climb with confidence and peace of mind.
Remember, a little bit of research and practice can go a long way in ensuring a safe and rewarding climb. Happy ascending!
Like a Tamagotchi, your climbing gear needs daily care. Stay safe and enjoy the climb!