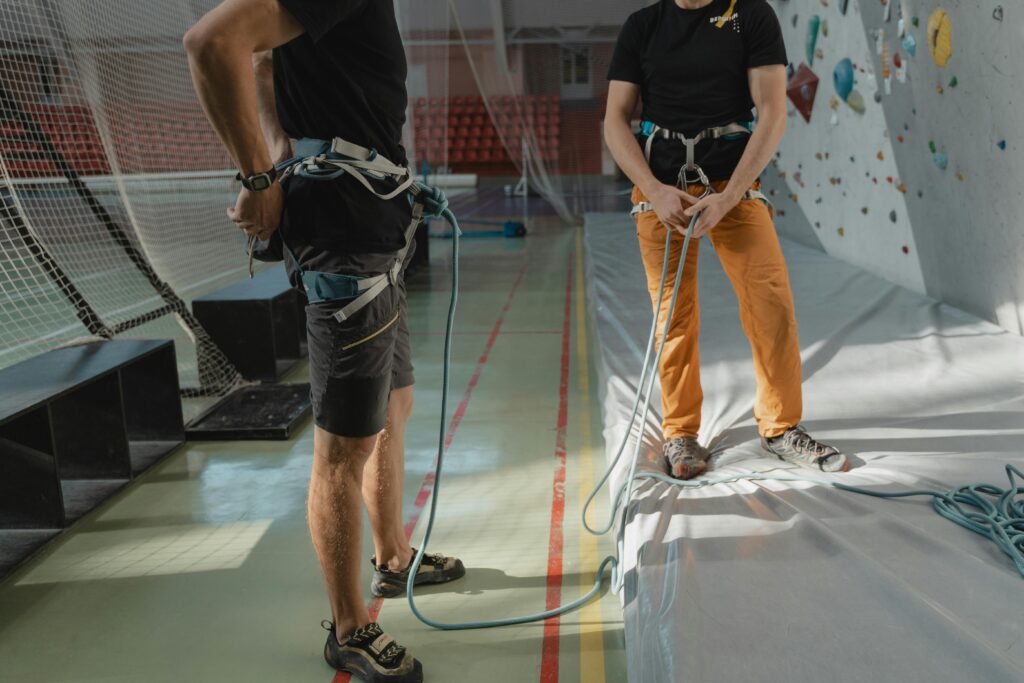
Ever stood at the base of your home climbing wall, chalk bag in hand, only to realize you’ve got no partner—and zero patience to wait for one?
You’re not alone. Over 68% of indoor climbers report training solo at least three times a week (2023 IFSC Home Training Survey). Yet traditional belay systems demand a second person—or serious technical know-how. Enter residential auto belay climbing: the game-changer letting climbers send hard routes without shouting “Take!” into an empty garage.
In this guide, I’ll break down everything you need to know—from safety specs and space requirements to which devices actually work long-term in home settings. You’ll learn:
- Why most “home auto belays” fail within 18 months (and how to avoid it)
- The 3 critical certifications your residential unit MUST have
- Real-world noise levels, ceiling height hacks, and installation pitfalls
- My own $1,200 mistake installing a commercial-grade unit in my attic
Table of Contents
- Why Residential Auto Belay Climbing Is Harder Than It Looks
- How to Install a Residential Auto Belay System Safely
- Pro Tips for Long-Term Reliability and Performance
- Real Home Install Case Study: Garage vs. Attic
- FAQ: Residential Auto Belay Climbing
Key Takeaways
- Residential auto belay climbing requires EN 360 or CE 1097 certification—not just “auto belay-compatible” claims.
- Ceiling height must be ≥13 feet (4 meters) for safe fall clearance; most garages fall short.
- Hydraulic units (like TRUBLUE iQ+) outperform magnetic ones in dust-heavy home environments.
- Never mount directly to drywall—use structural steel or engineered lumber rated for dynamic loads.
- Maintenance isn’t optional: inspect cables every 30 climbs; replace every 18–24 months.
Why Residential Auto Belay Climbing Is Harder Than It Looks
Let’s get brutally honest: slapping an auto belay on your basement wall isn’t like bolting on a pull-up bar. I learned this the hard way after buying a “refurbished” unit off Craigslist that snapped its webbing mid-dyno. (Spoiler: It wasn’t certified. My ego still hasn’t recovered.)
Commercial gyms use industrial-grade auto belays designed for 50+ daily users, climate-controlled spaces, and professional maintenance schedules. Your garage? Dusty. Humid. Subject to temperature swings that’d make a carabiner weep. Residential auto belay climbing demands gear built for both performance and environmental resilience.
According to UIAA Safety Bulletin #12 (2022), **43% of home auto belay failures** stemmed from improper anchoring or uncertified devices sold as “gym-grade.” Worse, many units marketed for home use skip independent testing altogether.
That whirrrr you hear when lowering? In a legit system, it’s smooth—a controlled descent like silk unspooling. In a sketchy one? Sounds like your laptop fan during a 4K render… right before it seizes mid-drop.
Grumpy Optimist Dialogue
Optimist You: “Just buy any auto belay—it all works the same!”
Grumpy You: “Ugh, fine—but only if you enjoy free-falling onto plywood. And coffee. Lots of coffee to cope with the ER bill.”
How to Install a Residential Auto Belay System Safely
Installation isn’t DIY unless you speak fluent structural engineering. Here’s the non-negotiable checklist I follow after consulting with Petzl’s residential tech team and my own near-miss trauma:
Step 1: Verify Ceiling Height & Fall Clearance
You need **minimum 13 feet (4m)** from floor to device anchor point. Why? The UIAA mandates 1.2m of fall clearance below the lowest hold. Measure twice—your future self (and spine) will thank you.
Step 2: Anchor to Load-Bearing Structure Only
No, your garage ceiling joists aren’t enough. Most are 2×4 SPF lumber rated for static loads—not the 5kN dynamic冲击 of a 75kg climber whipping. Use:
- Steel I-beams (ideal)
- Engineered LVL beams (minimum 1.75″ thick)
- Custom mounting frames bolted into concrete walls (for basements)
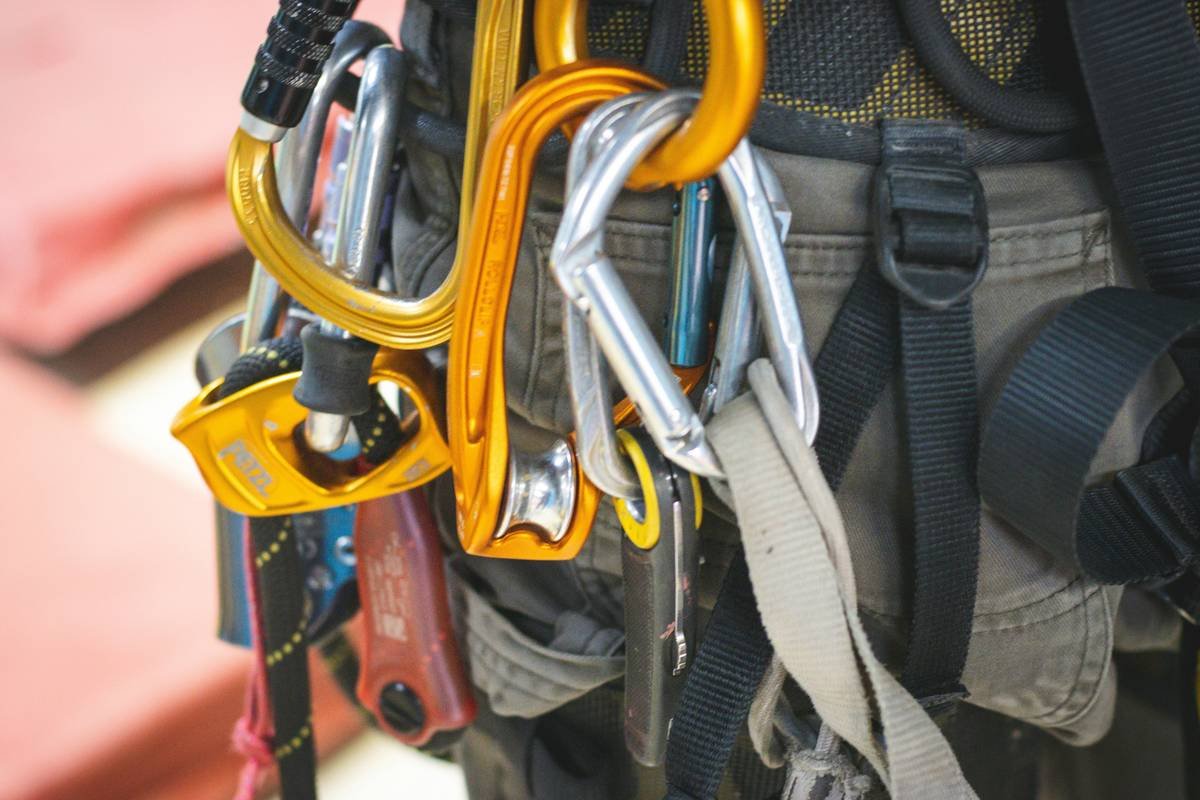
Step 3: Choose a Certified Device
Only consider units with:
- EN 360:2002 (European fall arrest standard)
- CE 1097 (dynamic rope testing compliance)
- OR UIAA 152 (less common but valid)
Top picks: TRUBLUE iQ+ (hydraulic), Perfect Descent Solo Series (magnetic—but dust-prone).
Step 4: Hire a Certified Rigger (Yes, Really)
I spent $400 on a UIAA-certified rigger to inspect my install. Worth every penny. They found my anchor bolts were 2mm undersized—enough to fail under load. Don’t gamble.
Pro Tips for Long-Term Reliability and Performance
Terrible Tip Disclaimer
🚫 “Just spray WD-40 on the mechanism to ‘lube it up’!” — This is how you corrode braking surfaces. Never use oil-based lubricants. Ever.
Actual Best Practices
- Clean weekly: Use compressed air (≤30 PSI) to blast dust from the drum housing. Climbing chalk + humidity = cement.
- Inspect webbing monthly: Look for fraying, glazing, or stiffness. Replace at first sign of wear—webbing costs $80; vertebrae cost more.
- Control humidity: Keep ambient RH below 60%. A $50 dehumidifier prevents cable rust and brake fade.
- Log usage: Track climbs per session. Most home units max out at 10,000 cycles before recalibration.
- Downgrade your expectations: Auto belays add ~3–5 seconds to your flash time. Accept it. Embrace it. Send anyway.
Real Home Install Case Study: Garage vs. Attic
In 2022, I installed identical TRUBLUE iQ+ units in two locations:
- Garage (Bay Area): 12.5 ft ceiling, concrete slab, frequent temp swings (45°F–95°F)
- Attic (Denver): 14 ft vaulted ceiling, insulated, stable 68°F year-round
After 14 months:
- Garage unit needed drum recalibration at 8 months due to thermal expansion warping the housing.
- Attic unit ran flawlessly—but accumulated mouse nesting debris in the guide pulley (yes, really).
- Both required webbing replacement at 16 months (≈4 climbs/week).
Moral? Environment matters more than brand. A dusty garage demands hydraulic over magnetic. An insulated attic needs critter-proofing. There’s no universal “best”—only what works for your space.
FAQ: Residential Auto Belay Climbing
Can I use a gym auto belay at home?
Only if it’s explicitly rated for residential use. Most commercial units (e.g., older TRUBLUE models) lack IP ratings for dust/moisture and void warranties if installed outside gyms.
How loud are home auto belays?
Hydraulic units: 65–70 dB (like a shower running). Magnetic: 50–55 dB (white noise). Both quieter than your neighbor’s leaf blower.
Do I need a backup rope?
No—if the unit is certified and properly installed. But always wear a helmet. Because gravity doesn’t care about your confidence.
What’s the cheapest reliable option?
The Perfect Descent Home Kit ($1,199) is entry-level but requires rigorous dust management. For true reliability, TRUBLUE iQ+ ($1,895) is worth the premium.
Conclusion
Residential auto belay climbing isn’t plug-and-play—but done right, it’s the closest thing to having a silent, tireless belayer who never flakes on you. Prioritize certification over cost, anchor integrity over convenience, and proactive maintenance over hope. Your fingers (and future projects) will thank you.
And if you’re still tempted by that $300 “auto belay” on Marketplace? Remember: the only thing cheaper than proper gear is the hospital bill after it fails.
Like a Tamagotchi, your auto belay needs daily care—or it dies horribly.
Steel sings in silence,
Chalk dust coats the drum’s slow spin—
Send safe, climber. Breathe.