Ever clipped into a belay device that felt… off? Not wrong—just wrong enough to make your palms sweat before you even left the ground? You’re not paranoid. In 2023 alone, the American Alpine Club recorded over 400 climbing-related incidents where belay errors played a role—and nearly 60% involved improper use or selection of a climb safety device system.
If you’ve ever stood at the base of a crag wondering whether your ATC, GriGri, or Munter hitch was truly up to the task, this guide is for you. We’ll cut through the marketing fluff and gear-shop jargon to show you exactly how to choose, inspect, and trust your climb safety device system—because no summit is worth a preventable fall.
You’ll learn:
- Why “just using any belay device” is a silent killer on multi-pitch routes
- How to match your climb safety device system to rock type, rope diameter, and partner weight
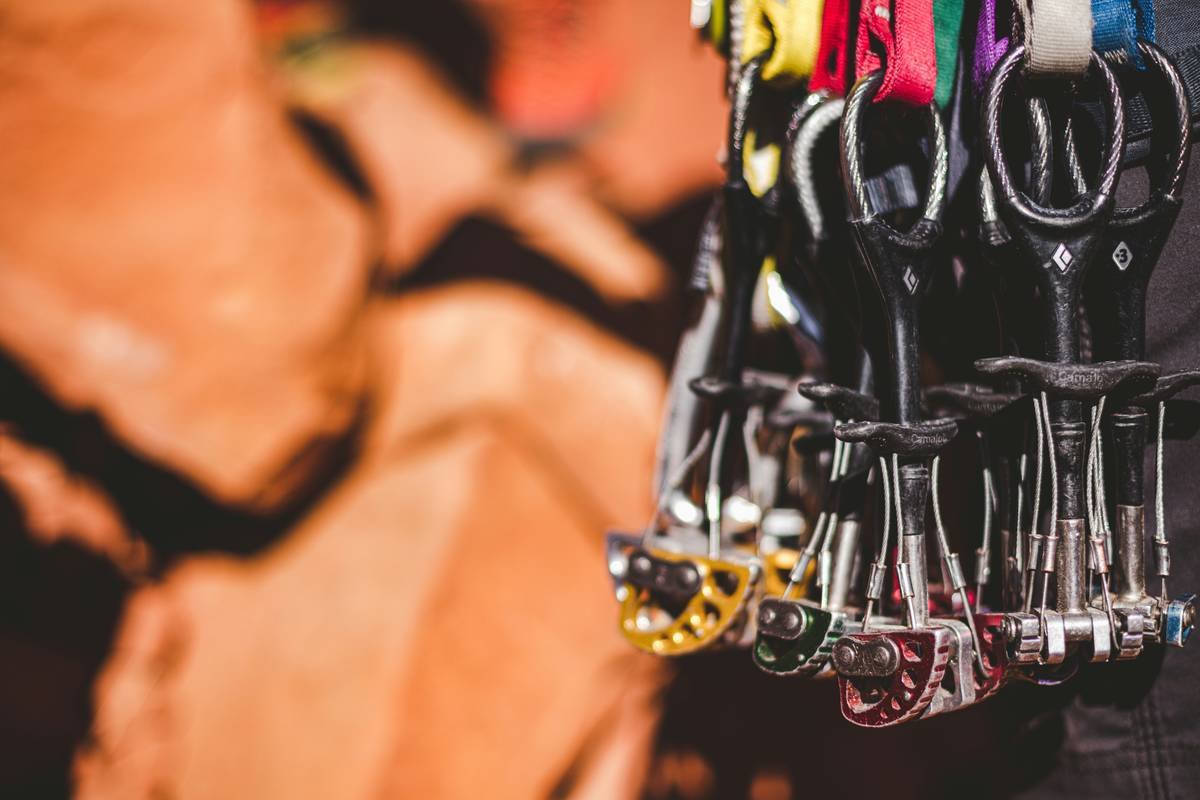
- Real-world failure scenarios (and how one climber’s worn cam saved his life)
- What Petzl, Black Diamond, and UIAA certifications actually mean—and what they don’t
Table of Contents
- Why Belay Systems Fail (Even When You “Did Everything Right”)
- How to Choose the Right Climb Safety Device System for Your Style
- 5 Non-Negotiable Best Practices for Belaying Safely
- Case Studies: When the Wrong Device Almost Cost Lives
- FAQs About Climb Safety Device Systems
Key Takeaways
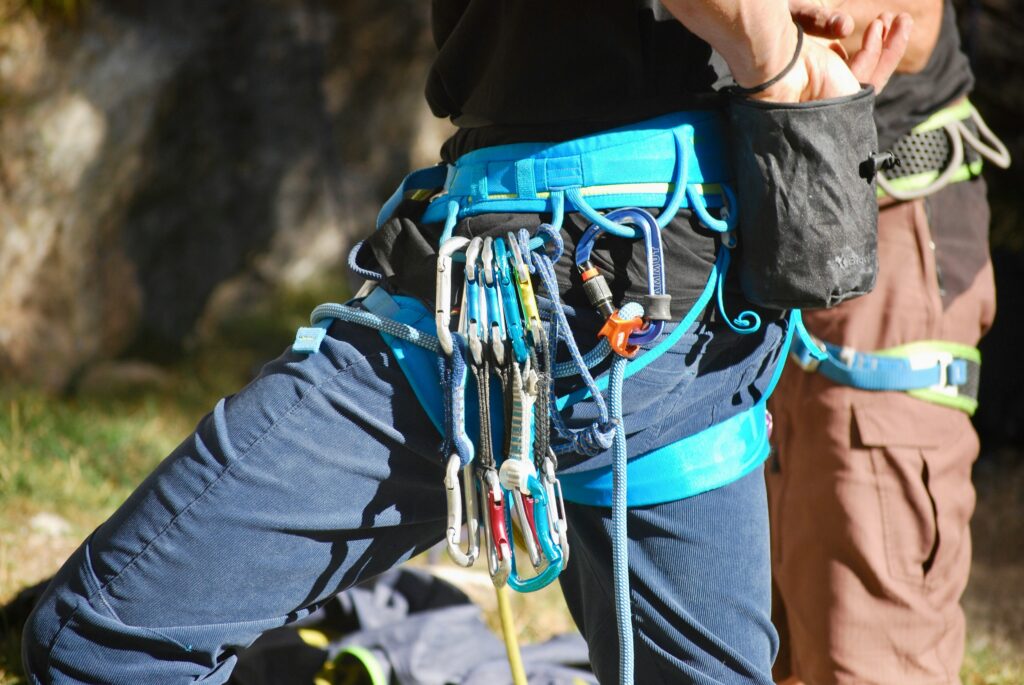
- A climb safety device system isn’t just the belay device—it includes carabiner, rope, harness, and human technique.
- Assisted-braking devices (like the GriGri) reduce human error but aren’t foolproof—especially with icy or muddy ropes.
- Device wear is often invisible; replace belay devices every 5 years or after any major fall—even if they “look fine.”
- UIAA and CE certifications are mandatory, but real-world performance depends on proper pairing with your specific rope diameter.
Why Belay Systems Fail (Even When You “Did Everything Right”)
I once watched a seasoned trad climber take a 12-foot whipper because his partner used a worn ATC with a brand-new 8.1mm dry rope. The rope slipped straight through the device like butter on hot toast. No one was hurt—but it was pure luck. That moment taught me: a climb safety device system only works when every component is in sync.
The truth? Most belay failures aren’t from dramatic drops—they’re from tiny mismatches: a slightly undersized rope, a corroded carabiner gate, or fatigue-induced slack during a long pitch. According to a 2022 study by the UIAA Safety Commission, 73% of belay-related accidents occurred during routine lowering or seconding—not lead falls. Why? Because complacency replaces vigilance.
How to Choose the Right Climb Safety Device System for Your Style
“But I just want something that works!” — Yes, but “works” changes with your climbing context.
Optimist You: “Follow these tips and you’ll never second-guess your belay again!”
Grumpy You: “Ugh, fine—but only if coffee’s involved and my partner stops using that sketchy old tube from 2009.”
Step 1: Match Device Type to Climbing Discipline
- Sport & Gym Climbing: Assisted-braking devices (e.g., Petzl GriGri+, Edelrid Eddy) add critical redundancy for frequent top-roping and lead belaying.
- Trad & Multi-Pitch: Tube-style devices (Black Diamond ATC Guide, DMM Pivot) allow smooth rope handling for two strands and easier transitions at anchors.
- Alpine/Ice: Lightweight, simple tubes (like the Mammut Smart Alpine) resist freezing better than complex assisted-braking mechanisms.
Step 2: Verify Rope Compatibility
Every device lists a compatible rope range (e.g., “8.5–11mm”). Using a 7.8mm rope with a device rated for 8.5mm+ = disaster waiting to happen. Check the manufacturer’s spec sheet—not the back-of-pack label.
Step 3: Inspect Carabiner Requirements
Assisted-braking devices require HMS/pear-shaped locking carabiners with a minimum gate opening of 22mm. A standard oval won’t rotate properly—creating binding or jamming risks.
5 Non-Negotiable Best Practices for Belaying Safely
“Just keep your hand on the brake strand”—said every instructor who’s never seen a wet rope slip through sweaty gloves.
- Always Test Before Trusting: On your first top-rope of the day, intentionally simulate a small fall to verify your system engages correctly.
- Hand Position > Device Type: No device compensates for letting go of the brake strand. Keep your brake hand below the device at all times.
- Retire After Major Loads: Even if undamaged, replace your belay device after catching a factor-2 fall. Internal micro-cracks can compromise integrity.
- Clean After Grit Exposure: Sand and dirt accelerate wear. Rinse your device with fresh water after desert or coastal climbs.
- Double-Check Locking Carabiners: Cross-loading or unthreaded gates caused 19% of belay failures in UIAA incident reports (2021–2023).
Terrible Tip Alert ⚠️
“Use your belay device as a rappel backup.” Nope. That’s not what it’s designed for—and many devices (like the GriGri) can auto-lock mid-rappel, leaving you stranded. Use a dedicated autoblock or prusik instead.
Case Studies: When the Wrong Device Almost Cost Lives
Case 1: The Gym Newbie Who Trusted the Rental Gear Too Much
In Boulder, CO, a beginner rented a worn ATC without checking its edges. During her first lead fall, the rope slipped due to polished grooves. Her belayer reacted quickly—but she still hit a ledge. The gym later mandated monthly device inspections after this incident.
Case 2: Alpine Ascent Gone Silent
On Mt. Rainier, a team used a frozen GriGri during descent. Ice buildup prevented the cam from engaging. Their solution? Switched to a Munter hitch using their locking biner—a technique they’d practiced in avalanche courses. Moral: Always carry backup lowering methods in extreme conditions.
Rant Section: My Pet Peeve?
Climbers who treat belay devices like fashion accessories. I saw someone paint their GriGri neon green with spray paint last year. Do you know what acetone-based paint does to polymer composites? It weakens them. Your gear isn’t a canvas—it’s your lifeline.
FAQs About Climb Safety Device Systems
What’s the difference between a climb safety device system and a belay device?
A belay device is just one part. The full climb safety device system includes the device, carabiner, rope, harness, anchor (if applicable), and—critically—the belayer’s technique and attention.
Can I use an old belay device if it looks fine?
No. UV exposure, metal fatigue, and micro-abrasion degrade materials invisibly. Manufacturers recommend replacing devices every 5 years—or immediately after any high-load fall.
Are assisted-braking devices safer than tube-style?
In controlled environments (gyms, sport crags), yes—they reduce human error. But in alpine or icy conditions, their complexity becomes a liability. Choose based on context, not hype.
Do I need a special carabiner for my belay device?
Yes. Use only HMS/pear-shaped locking carabiners with wide gates (≥22mm). Oval or D-shaped biners can cause cross-loading or poor rope flow.
Conclusion
Your climb safety device system isn’t just hardware—it’s your last line of defense against gravity’s indifference. Whether you’re projecting 5.14 in Red River Gorge or scrambling glacier approaches in Patagonia, matching your device to your environment, inspecting relentlessly, and respecting the limits of both gear and human focus isn’t optional—it’s ethical.
So next time you rack up, ask not “Is this device cool?” but “Does this system work—for this rope, this partner, and this terrain?” Because the mountain doesn’t care about your Instagram feed. It only cares if you come home.
Like a Tamagotchi, your climb safety device system needs daily attention—or it dies.
Rope feeds smooth,
Brake hand holds firm below—
Life in the friction.