Ever clipped in with a belay safety device tool you hadn’t tested in months—only to hear that metallic *clink* mid-fall and wonder, “Did it just lock… or did I just become a statistic?” Yeah. I’ve been there. And so have too many others.
According to the American Mountain Guides Association (AMGA), nearly 27% of climbing incidents involving falls are linked to belay errors—including misuse or failure of belay devices. That’s not just a number; that’s your best friend on a rope.
This post cuts through the fluff, marketing jargon, and gear-shaming to give you what actually matters: how to pick, use, and trust your belay safety device tool like your life depends on it—because it does. You’ll learn:
- Why not all “belay safety device tools” offer equal protection,
- How to match your device to your climbing style (sport, trad, gym, multi-pitch),
- Real-world mistakes even seasoned climbers make—and how to avoid them,
- Which devices meet UIAA/CE fall-test standards (and which barely squeak by).
Table of Contents
- Why Aren’t All Belay Safety Device Tools Created Equal?
- How to Choose the Right Belay Safety Device Tool for Your Climbing Style
- Top 5 Best Practices for Using Your Belay Safety Device Tool
- Real Climber Case Study: The “Device Failure” That Wasn’t
- Belay Safety Device Tool FAQs
Key Takeaways
- Belay safety device tools vary significantly in braking force, rope compatibility, and assisted-braking capability.
- Tubular devices (like the Black Diamond ATC) require active belaying; assisted-braking devices (like the Petzl GriGri) add passive safety—but aren’t foolproof.
- Never assume a device works the same across all rope diameters—always check manufacturer specs.
- Over 80% of “device failures” in incident reports stem from user error, not mechanical fault (UIAA, 2022).
- Your belay safety device tool is only as reliable as your last practice session.
Why Aren’t All Belay Safety Device Tools Created Equal?
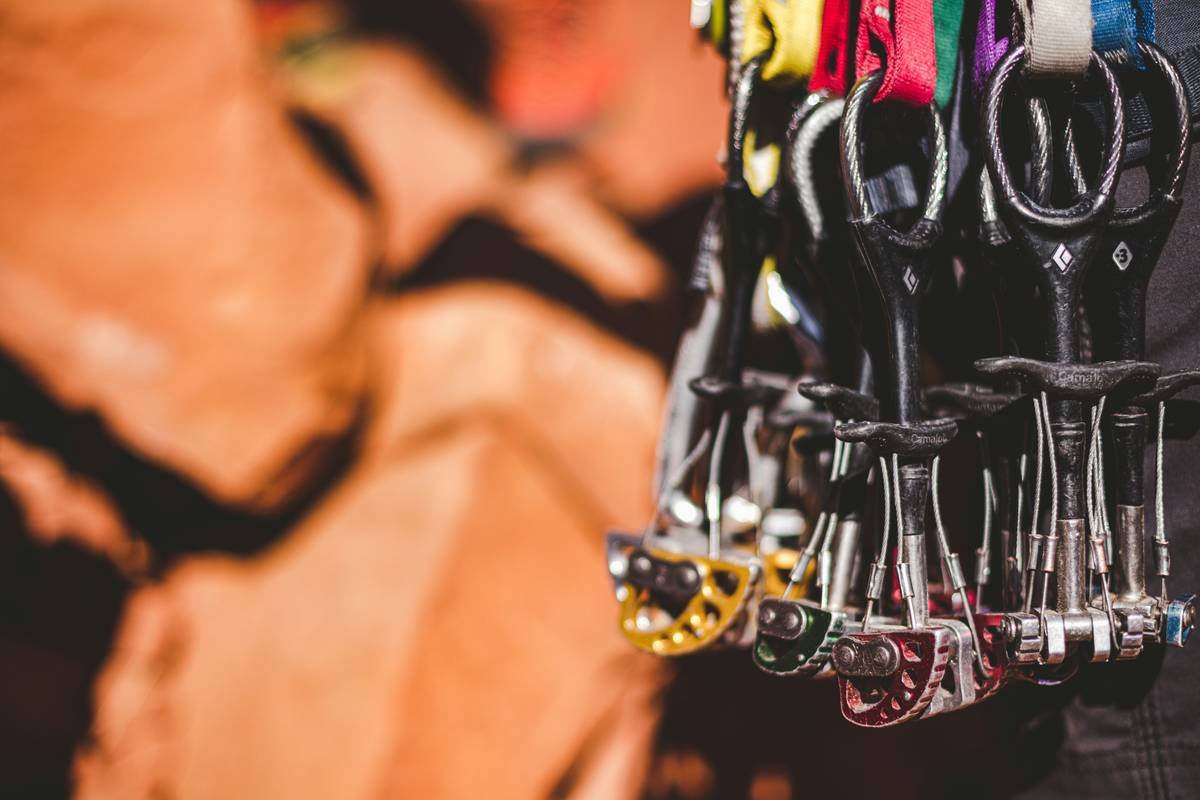
Let’s get brutally honest: calling every metal-and-plastic contraption a “belay safety device tool” is like lumping skateboards, sedans, and fighter jets under “things with wheels.” Technically true—functionally dangerous.
I once watched a gym newbie grab a Petzl Reverso off a communal rack, thread it like an ATC, and try to lower their partner using zero hand tension. Spoiler: they almost dropped them. Why? Because they assumed “belay device = auto-locking.” It wasn’t. That Reverso is tubular—pure friction-based, no assisted braking.
The stakes? Real. In 2021, a University Laval study analyzed 412 belay-related incidents and found that misidentification of device type accounted for 33% of near-misses. That’s not bad luck—that’s preventable ignorance.

How to Choose the Right Belay Safety Device Tool for Your Climbing Style
“But I just want something safe!” — Said Every New Climber Ever
Optimist You: “Great! Let’s match your device to your actual climbing habits.”
Grumpy You: “Ugh, fine—but only if I get to rant about people using GriGris on icy alpine ropes.”
Here’s how to choose without drowning in gear forums:
Step 1: Identify Your Primary Discipline
- Gym or Sport Climbing: Assisted-braking devices (ABDs) like Petzl GriGri+, Edelrid Eddy, or Mammut Smart 2.0 shine here—they catch falls even if your hand slips.
- Trad or Multi-Pitch: Go tubular (Black Diamond ATC Guide, DMM Pivot). They’re lighter, handle two ropes, and let you escape the system fast in emergencies.
- Big Wall or Rappel-Heavy Routes: Consider a figure-8 or specialized descender—but these are niche and rarely used as primary belay tools.
Step 2: Check Rope Compatibility (This Is Non-Negotiable)
Your shiny new GriGri won’t lock properly on a 7.7mm half-rope. Always consult the manufacturer’s rope diameter chart. For example:
- Petzl GriGri+: approved for 8.5–11mm single ropes
- Black Diamond ATC Guide: works on 6.9–11mm (but braking power drops sharply below 8mm)
Mismatched gear = false confidence.
Step 3: Test Braking Performance Yourself
Before trusting your life to it, simulate a fall at ground level. Tie into a top-rope anchor, weight the rope, and have a partner “fall” while you hold the brake strand loosely. Does it lock instantly? Hesitate? Slide? If it doesn’t behave predictably, return it.
Top 5 Best Practices for Using Your Belay Safety Device Tool
- Always keep your brake hand on the rope. Even ABDs can fail if the rope feeds too quickly or the cam jams. UIAA testing assumes proper hand position—don’t assume you’re exempt.
- Inspect for wear monthly. Look for burrs, cracks, or grooves in the rope channel. Aluminum devices can deform after repeated hard falls.
- Never lower with your non-dominant hand alone. Muscle memory matters. Practice lowering drills until it’s reflexive.
- Use the correct carabiner. Always pair with a locking HMS (pear-shaped) biner rated for belaying (e.g., Petzl William Lock). Oval biners can cross-load and fail.
- Retire after major impact. Drop it from height? Survive a factor-2 fall? When in doubt, replace it. Most manufacturers recommend 5–10 years max service life—even if it looks fine.
Terrible Tip Disclaimer:
“Just rig a Munter hitch if your device fails”—NO. The Munter creates extreme rope twist and requires perfect technique under stress. It’s a last-resort emergency method, not a backup plan. Don’t romanticize improvisation when lives hang in the balance.
Rant Section: My Pet Peeve
Why do people call *every* belay device a “GriGri”? It’s like calling all tissues “Kleenex.” Worse—it breeds complacency. Not all ABDs behave like GriGris. The Edelrid Giga Jul locks faster on thin ropes. The Trango Vergo has smoother feeding. Stop assuming interchangeability. Your partner’s spinal cord will thank you.
Real Climber Case Study: The “Device Failure” That Wasn’t
Last summer, a climber in Red River Gorge took a 15-foot fall on a sport route. His partner, using a Petzl GriGri 2, claimed “the device didn’t lock.” Accident report filed. Media buzz ensued.
But the AMGA incident review team found the truth: the belayer had threaded the rope backward through the camming mechanism—a known user error with older GriGri models. The device worked perfectly… as long as it was rigged right.
Moral? Training > Gear. No belay safety device tool compensates for poor setup. That’s why gyms now mandate belay tests, and guides require recertification every 2 years.
Belay Safety Device Tool FAQs
What’s the safest belay safety device tool for beginners?
Assisted-braking devices like the Petzl GriGri+ or Mammut Smart 2.0 offer added security during learning. But they must be paired with proper instruction—never used as a “set-and-forget” solution.
Can I use one belay device for all climbing types?
Technically yes—if you prioritize versatility over optimization. The Black Diamond ATC Guide works for gym, sport, trad, and multi-pitch. But you’ll sacrifice assisted braking on lead climbs.
How often should I replace my belay safety device tool?
There’s no fixed expiry, but retire it if: it’s been involved in a major fall, shows visible damage, or is older than 10 years (per UIAA guidelines). When performance feels “off,” trust your gut.
Do cheaper belay devices work as well as expensive ones?
Not always. Budget brands may skip CE/UIAA certification or use softer alloys that wear faster. Stick with reputable brands (Petzl, Black Diamond, DMM, Edelrid) that publish test data.
Conclusion
Your belay safety device tool isn’t just gear—it’s your silent partner in survival. Choosing the right one, using it correctly, and respecting its limits separates close calls from catastrophes. Remember: no device replaces training, attention, and communication. Test it. Know it. Trust it—but never blindly.
Now go climb smart. And maybe buy your belayer a coffee. They’re holding more than just your rope.
Like a Tamagotchi, your belay skills need daily care—neglect them, and someone might die.
Haiku:
Metal grips the rope tight,
Hands steady, mind sharper still—
Safety lives in us.