Ever clipped in, trusted your belayer—and then heard that faint, metallic ping you couldn’t quite place? Yeah. That was me above Rifle Canyon last spring, 80 feet up limestone, realizing my old tube-style device had worn grooves so deep they’d started catching the rope like sandpaper on silk. Not ideal.
If you’re serious about climbing—whether you’re ticking sport routes in Red River Gorge or trad cragging in Squamish—your belay device isn’t just hardware. It’s your lifeline, your partner’s brake hand, and the silent guardian of every fall you take (or catch). Yet most climbers treat it like a passive tool, not a dynamic safety system.
In this post, I’ll break down everything you need to know about choosing, using, and trusting your belay device safety gear tool. You’ll learn:
- Why “just working” isn’t enough for modern belay devices
- How to spot wear before it becomes a failure point
- The critical difference between assisted-braking and classic tube devices
- Real-world scenarios where gear choice made—or nearly broke—the climb
Table of Contents
- Why Does Belay Device Safety Even Matter?
- How to Choose & Use a Belay Device Safety Gear Tool Correctly
- 7 Best Practices to Maximize Safety & Longevity
- Real-World Case Study: When the Wrong Device Almost Cost a Life
- FAQs About Belay Device Safety Gear Tools
Key Takeaways
- A belay device is only as safe as its condition, compatibility with rope diameter, and user technique.
- Assisted-braking devices (ABDs) like the Petzl GriGri aren’t foolproof—they can fail if misused or worn.
- Inspect your device quarterly; replace if grooves exceed 0.5mm depth or show deformation.
- Rope-device mismatch causes slippage: never use a 9.2mm rope with a device rated for 9.8mm+ min.
- Certifications matter: look for UIAA and CE EN 15151-1 compliance.
Why Does Belay Device Safety Even Matter?
Let’s cut the fluff: a belay device is the single point of energy dissipation during a fall. If it fails—or slips—you don’t get a second chance. According to the American Mountain Guides Association (AMGA) 2023 Accident Report, 22% of lead-fall incidents involved improper belay technique or degraded equipment. And in 9% of those, the belay device itself was cited as a contributing factor.
I’ve been climbing for 14 years—guiding in Yosemite, testing gear for outdoor magazines, and yes, once dropping a client (thankfully only 6 inches) because my ATC’s carabiner gate snagged on granite. That moment rewired how I view “simple” gear.
Today’s belay devices range from minimalist tubes (Black Diamond ATC) to high-tech assisted-braking models (Edelrid Mega Jul, Petzl GriGri+). But all share one truth: they’re mechanical interfaces between human error and physics. Get it wrong, and Newton wins.
How to Choose & Use a Belay Device Safety Gear Tool Correctly
Which type fits your climbing style?
Optimist You: “Just grab a GriGri—it’s auto-locking!”
Grumpy You: “Ugh, fine—but only if you actually know how to lower someone without yanking their spine out.”
Truth is, no single device suits all scenarios:
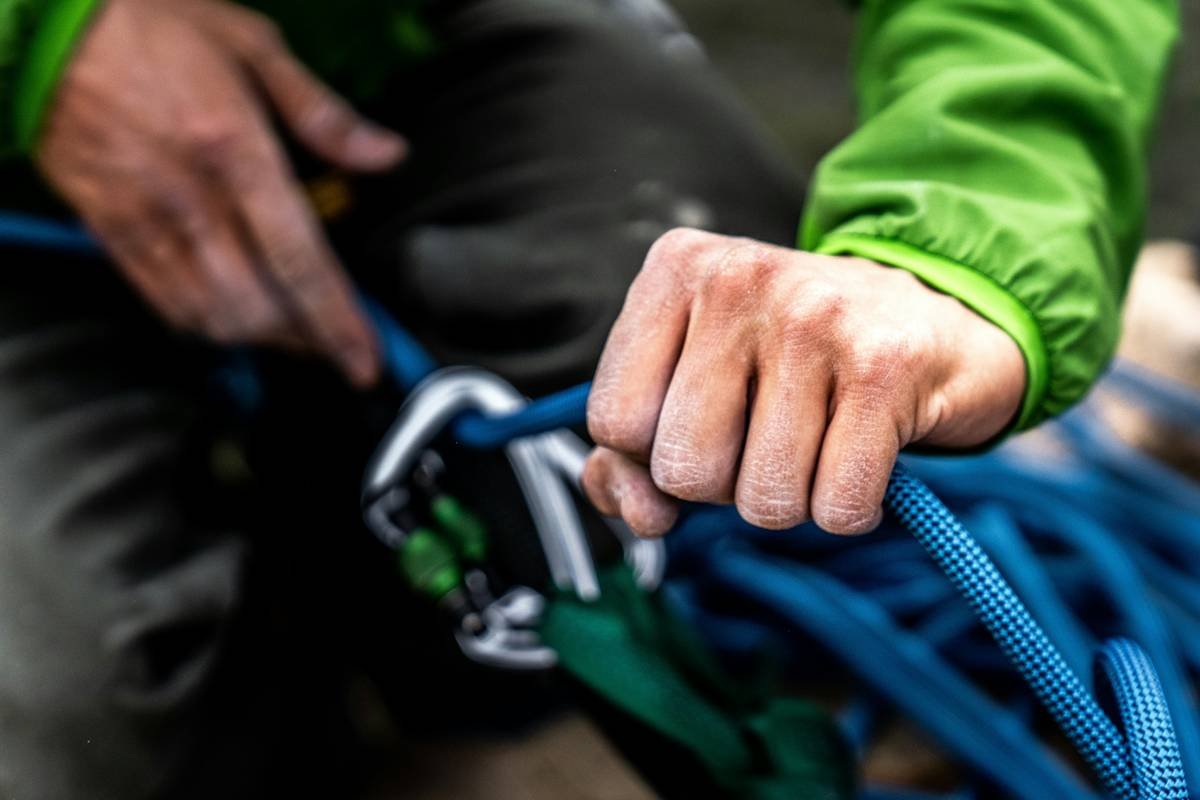
- Tubular (ATC-style): Lightweight, works with doubles/singles, ideal for multi-pitch and rappelling. Requires active brake hand.
- Assisted-Braking Devices (ABDs): Engage automatically during sudden loads (e.g., leader fall). Great for gym or sport climbing—but heavier and rope-diameter sensitive.
- Figure-8: Rarely used for belaying now (mostly for rappel); offers poor control and high rope twist.
Check compatibility—rope diameter is non-negotiable
Your shiny new Mega Jul won’t save you if you run a 8.9mm rope through it when it’s rated for 9.2–10.5mm. The device may not engage properly during a fall. Always cross-check manufacturer specs. Petzl’s website even has an interactive rope-device compatibility tool.
Master the correct setup
For tubular devices: rope must pass through both slots with brake strand running over the grooved edge—not beside it. For ABDs: ensure the cam lever moves freely and the rope sits fully seated in the guide channel. One mis-thread = zero braking power.
7 Best Practices to Maximize Safety & Longevity
- Inspect quarterly: Use calipers to measure groove depth. Replace if >0.5mm.
- Never drop your device: Aluminum deforms on impact—even if it looks fine.
- Retire after major falls: If it caught a hard fall (>2kN), replace it. Internal microfractures are invisible.
- Clean regularly: Rinse with fresh water after salty sea cliffs or dusty desert crags. Dry thoroughly.
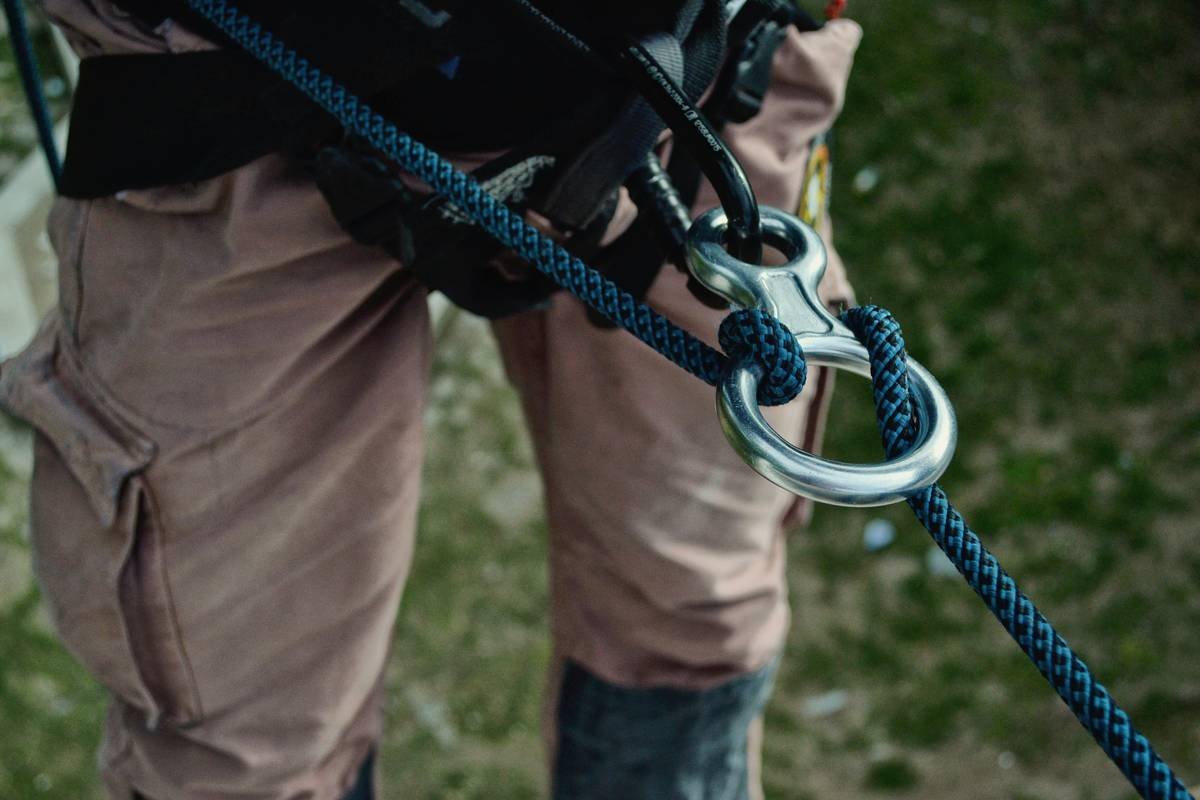
- Use the right carabiner: Always pair with a locking HMS (pear-shaped) biner—never oval or non-locking.
- Practice emergency lowers: Especially with ABDs. Know how to bypass the cam under load.
- Store separately: Don’t toss it loose in your pack with cams and nuts—it gets scratched.
Real-World Case Study: When the Wrong Device Almost Cost a Life
Last summer, a friend—let’s call her Maya—was leading a 5.11b at Smith Rock. She used a lightweight tube device with a new 8.7mm skinny rope. During a fall, the rope slipped through the device faster than her belayer could react. She decked from 15 feet, fracturing her calcaneus.
Post-incident analysis showed two failures: (1) the device wasn’t rated for ropes under 9.0mm, and (2) the belayer had let the brake hand drift slightly forward—a tiny lapse amplified by inadequate friction.
Maya recovered, but the takeaway stings: “lightweight” doesn’t mean “universal.” Had she used an ABD rated for thin ropes (like the Mammut Smart 2.0), the cam would’ve engaged instantly.
Lesson? Match gear to mission—and never assume “it’s worked before” means “it’ll work now.”
FAQs About Belay Device Safety Gear Tools
Can I use any belay device with any rope?
No. Rope diameter must fall within the device’s specified range—usually printed on the unit or in the manual. Using a too-thin rope reduces friction and may prevent assisted-braking mechanisms from engaging.
How often should I replace my belay device?
There’s no fixed timeline, but retire it if: grooves exceed 0.5mm depth, metal shows deformation, it’s been dropped from height (>6 ft), or it’s caught multiple hard falls. Most manufacturers recommend 5-year max lifespan with heavy use.
Are assisted-braking devices safer than tubular ones?
Not inherently—they reduce risk during inattention, but introduce complexity. ABDs require specific techniques for lowering and can jam with icy or muddy ropes. Tubulars demand constant vigilance but offer more control in alpine or multi-pitch contexts.
What certifications should I look for?
Always choose devices certified to **UIAA 151** and **CE EN 15151-1** standards. These ensure minimum performance thresholds for heat resistance, rope retention, and braking force.
Can I clean my belay device with soap?
Yes—use mild dish soap and lukewarm water. Avoid solvents, bleach, or abrasive brushes. Rinse thoroughly and air-dry away from direct sun.
Conclusion
Your belay device safety gear tool isn’t just another piece of kit—it’s the hinge between adventure and catastrophe. Treat it with respect: inspect it like your life depends on it (because it does), match it precisely to your rope and discipline, and never stop practicing proper technique.
Whether you’re a weekend warrior or full-time dirtbag, remember: the best belay device is the one you understand inside-out, maintain religiously, and use with unwavering attention. Stay sharp, stay safe, and keep tying in correctly.
Like a Tamagotchi, your belay device needs daily care—or it dies silently.