Ever felt your heart race as the rope slipped just a little too fast through your belay device? Yeah, it happens to the best of us. Whether you’re scaling cliffs or teaching someone new how to climb, having the right “rope control tool” is non-negotiable. Spoiler alert: It’s not just about grabbing any old gear off the shelf—it’s about mastering what you’ve got.
In this blog post, you’ll learn:
- Why choosing the right rope control tool matters.
- A step-by-step guide on using your belay device effectively.
- Tips and tricks for safer climbs.
- Real-life climbing fails (and how to avoid them).
Table of Contents
- Key Takeaways
- Why Is a Rope Control Tool So Important?
- Step-by-Step Guide to Using Your Belay Device Like a Pro
- Tips for Safer Climbing with Your Rope Control Tool
- Climbing Horrors & How They Could Have Been Avoided
- FAQs About Rope Control Tools
- Conclusion
Key Takeaways
- Your rope control tool is more than just gear; it’s your lifeline.
- Using a belay device correctly can prevent serious accidents.
- Invest in quality equipment—and practice makes perfect!
Why Is a Rope Control Tool So Important?
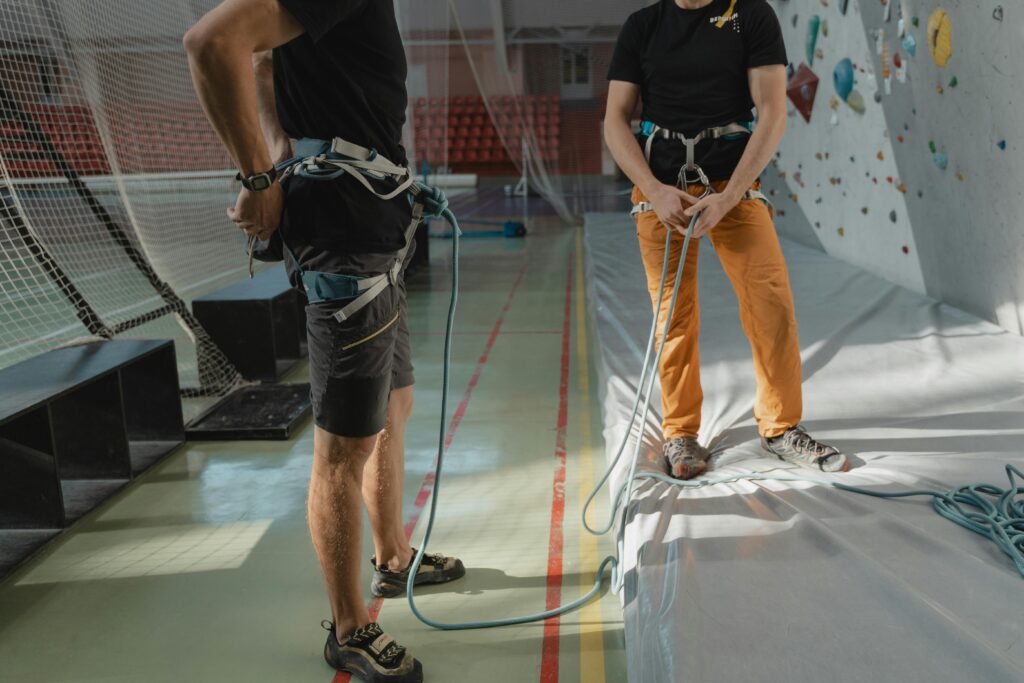
If you’ve ever tried holding onto a rope without assistance mid-climb, you know how punishing gravity can feel. Picture this: I was belaying my buddy back when I first started climbing. Rookie mistake—I misaligned the rope in our cheap-ass belay tube. One unexpected surge, and *whap*, his fall yanked me toward the edge faster than I could say “knot.” Luckily, no injuries—but lesson learned: invest in a solid rope control tool, folks.
Optimist You: “Hey, all belay devices are basically the same, right?”
Grumpy Me: “WRONG. Ugh. Some are total spaghetti monsters under pressure.”
Step-by-Step Guide to Using Your Belay Device Like a Pro
Step 1: Choose the Right Rope Control Tool for You
Not all rope control tools were created equal. Do yourself a favor and pick one based on:
- Climbing style (indoor vs. outdoor)
- Type of rope (dynamic, static)
- Experience level
Step 2: Learn How to Insert the Rope Properly
This part sounds boring but trust me—it’s essential. Most belay devices have diagrams printed directly on them. If yours doesn’t? Check the manual. Seriously, do it. (And yes, we’re ranting because people skip this ALL THE TIME.)
Step 3: Practice Braking Techniques
The secret sauce to stopping falls lies in braking technique. Remember:
- Pull down hard on the brake strand.
- Keep your hand below the belay device at all times.
- NEVER let go of that rope unless your climber has tied off securely.
Tips for Safer Climbing with Your Rope Control Tool
- Inspect Before Use: Look for frays, cracks, or anything suspicious.
- Partner Checks Are Non-Negotiable: Double-check each other’s setups before starting.
- Communicate Clearly: Standardize commands like “On belay?” and “Lowering.”
- Use Gloves When Necessary: Especially if handling thicker/harsher materials.
- Situation Awareness FTW: Know where loose rocks might be hiding. Gravity loves surprises.
Climbing Horrors & How They Could Have Been Avoided
Remember that time someone posted a horrifying video online showing their rope slipping out during a rappel due to improper threading? Yeah, cringeworthy. That climber used an unfamiliar tube-style rope control tool without testing it properly first. A quick buddy check would’ve caught the issue immediately—saving both pride AND hospital bills.
FAQs About Rope Control Tools
What Makes a Good Rope Control Tool?
Look for reliability, ease of use, and compatibility with different rope diameters. Brands like Black Diamond and Petzl often hit the sweet spot here.
Can I Use Any Belay Device for All Types of Climbing?
Nope! For example, assisted-braking devices shine indoors while plate-style units are great beginner tools—but terrain-specific needs vary wildly.
Is There Such Thing As a Terrible Tip Here?
Oh yeah. Let’s keep it real: Don’t ever think “I’ll figure this out later” when setting up your gear. Procrastination kills—literally.
Conclusion
Mastering your rope control tool isn’t rocket science—but it does require thoughtfulness, preparation, and respect for its power. By following these tips, from selecting the best gear to ensuring proper usage habits, you’ll climb smarter and safer than ever before.
So next time you’re staring down a gnarly route, remember: confidence starts with your equipment setup. Now go crush those pitches!
*Bonus Haiku Moment:*
Rock grips fingertips,
Holding tight through fear and sweat,
Life depends on knots.*