Ever had your climbing session derailed because your belay device felt like it was fighting you instead of helping? You’re not alone. Whether you’re rappelling down a crag or catching your partner mid-route, the friction control features in your belay device can make or break the experience—literally. So, what makes this feature so essential, and how can you harness it to climb safer and smarter?
In this guide, we’ll dive into everything you need to know about friction control features in climbing belay devices. Expect to uncover the mechanics, actionable tips for optimization, real-world examples, and even some brutally honest advice that might just save your next adventure.
Jump Ahead:
- Key Takeaways
- Why Friction Control Features Matter
- How to Master Your Device’s Friction Settings
- Best Practices for Using Friction Control
- Climbers Who Nailed It (and What We Can Learn)
- Frequently Asked Questions
Key Takeaways
- Friction control features influence both safety and efficiency during climbs.
- Improper use of these settings can lead to accidents or rope wear.
- Understanding your specific device’s design is crucial before hitting the wall or rock face.
- Tips from seasoned climbers reveal that fine-tuning friction isn’t rocket science—it’s all about practice.
Why Friction Control Features Matter

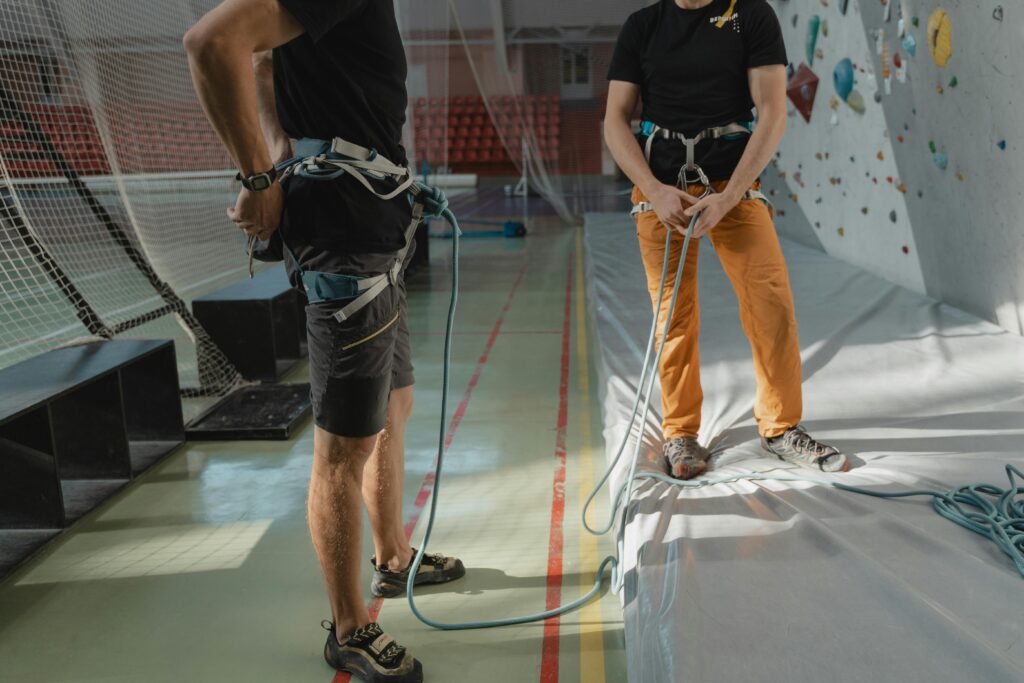
Climbing without understanding friction control is like driving stick shift without knowing how to shift gears. Painful, right? Picture this: I once lent my ATC Guide to a friend who didn’t adjust the friction settings properly. Mid-rappel, they ended up with burns on their gloves—and trust me, no one wants that level of regret.
Friction control is essentially the magic dial between you and disaster—or at least discomfort. Modern belay devices come equipped with adjustable slots, cams, or levers that regulate how much resistance the rope encounters as it moves through. This ensures smoother descents, easier catches, and reduced strain on both the climber and the equipment.
For beginners, navigating this aspect can feel intimidating. But here’s the truth: mastering friction settings transforms good climbers into great ones. It gives you precision over speed, control over chaos, and confidence over fear. And yes, it smells like burnt rubber when done wrong—don’t ask how I know.
How to Master Your Device’s Friction Settings
Let’s get practical. Here’s a step-by-step breakdown to help you take charge of those friction controls:
Step 1: Know Your Belay Device Inside Out
“Optimist You:” *’I got this! Just follow the manual.’*
“Grumpy You:” *’Ugh, fine—but only if coffee’s involved.’*
Start by reading the manufacturer’s instructions. Sounds basic, but you’d be surprised how many people skip this. Look for details about which ropes are compatible and whether your device supports dynamic versus static adjustments.
Step 2: Adjust Based on Conditions
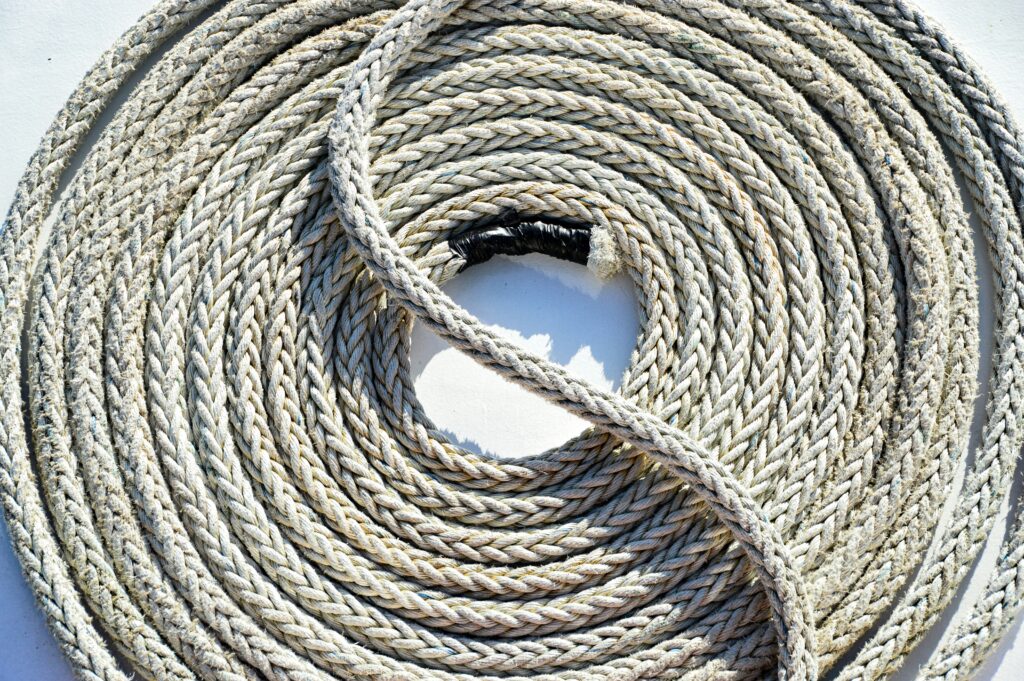
- Thick Rope? Crank up the friction for better grip.
- Slippery Rock Face? Decrease friction slightly to allow more fluid movement.
- Rainy Weather? Add extra resistance to counteract moisture-induced slippage.
Step 3: Practice Makes Perfect
Set up mock scenarios where you experiment with different configurations. Invite a buddy to critique your technique—it’s cheaper than therapy and way more fun.
Best Practices for Using Friction Control
Avoid common pitfalls with these pro-tips:
- Don’t Overdo It: Too much friction creates unnecessary tension, making every move feel like an arm workout.
- Inspect Regularly: Check for wear-and-tear signs like grooves or cracks that could affect performance.
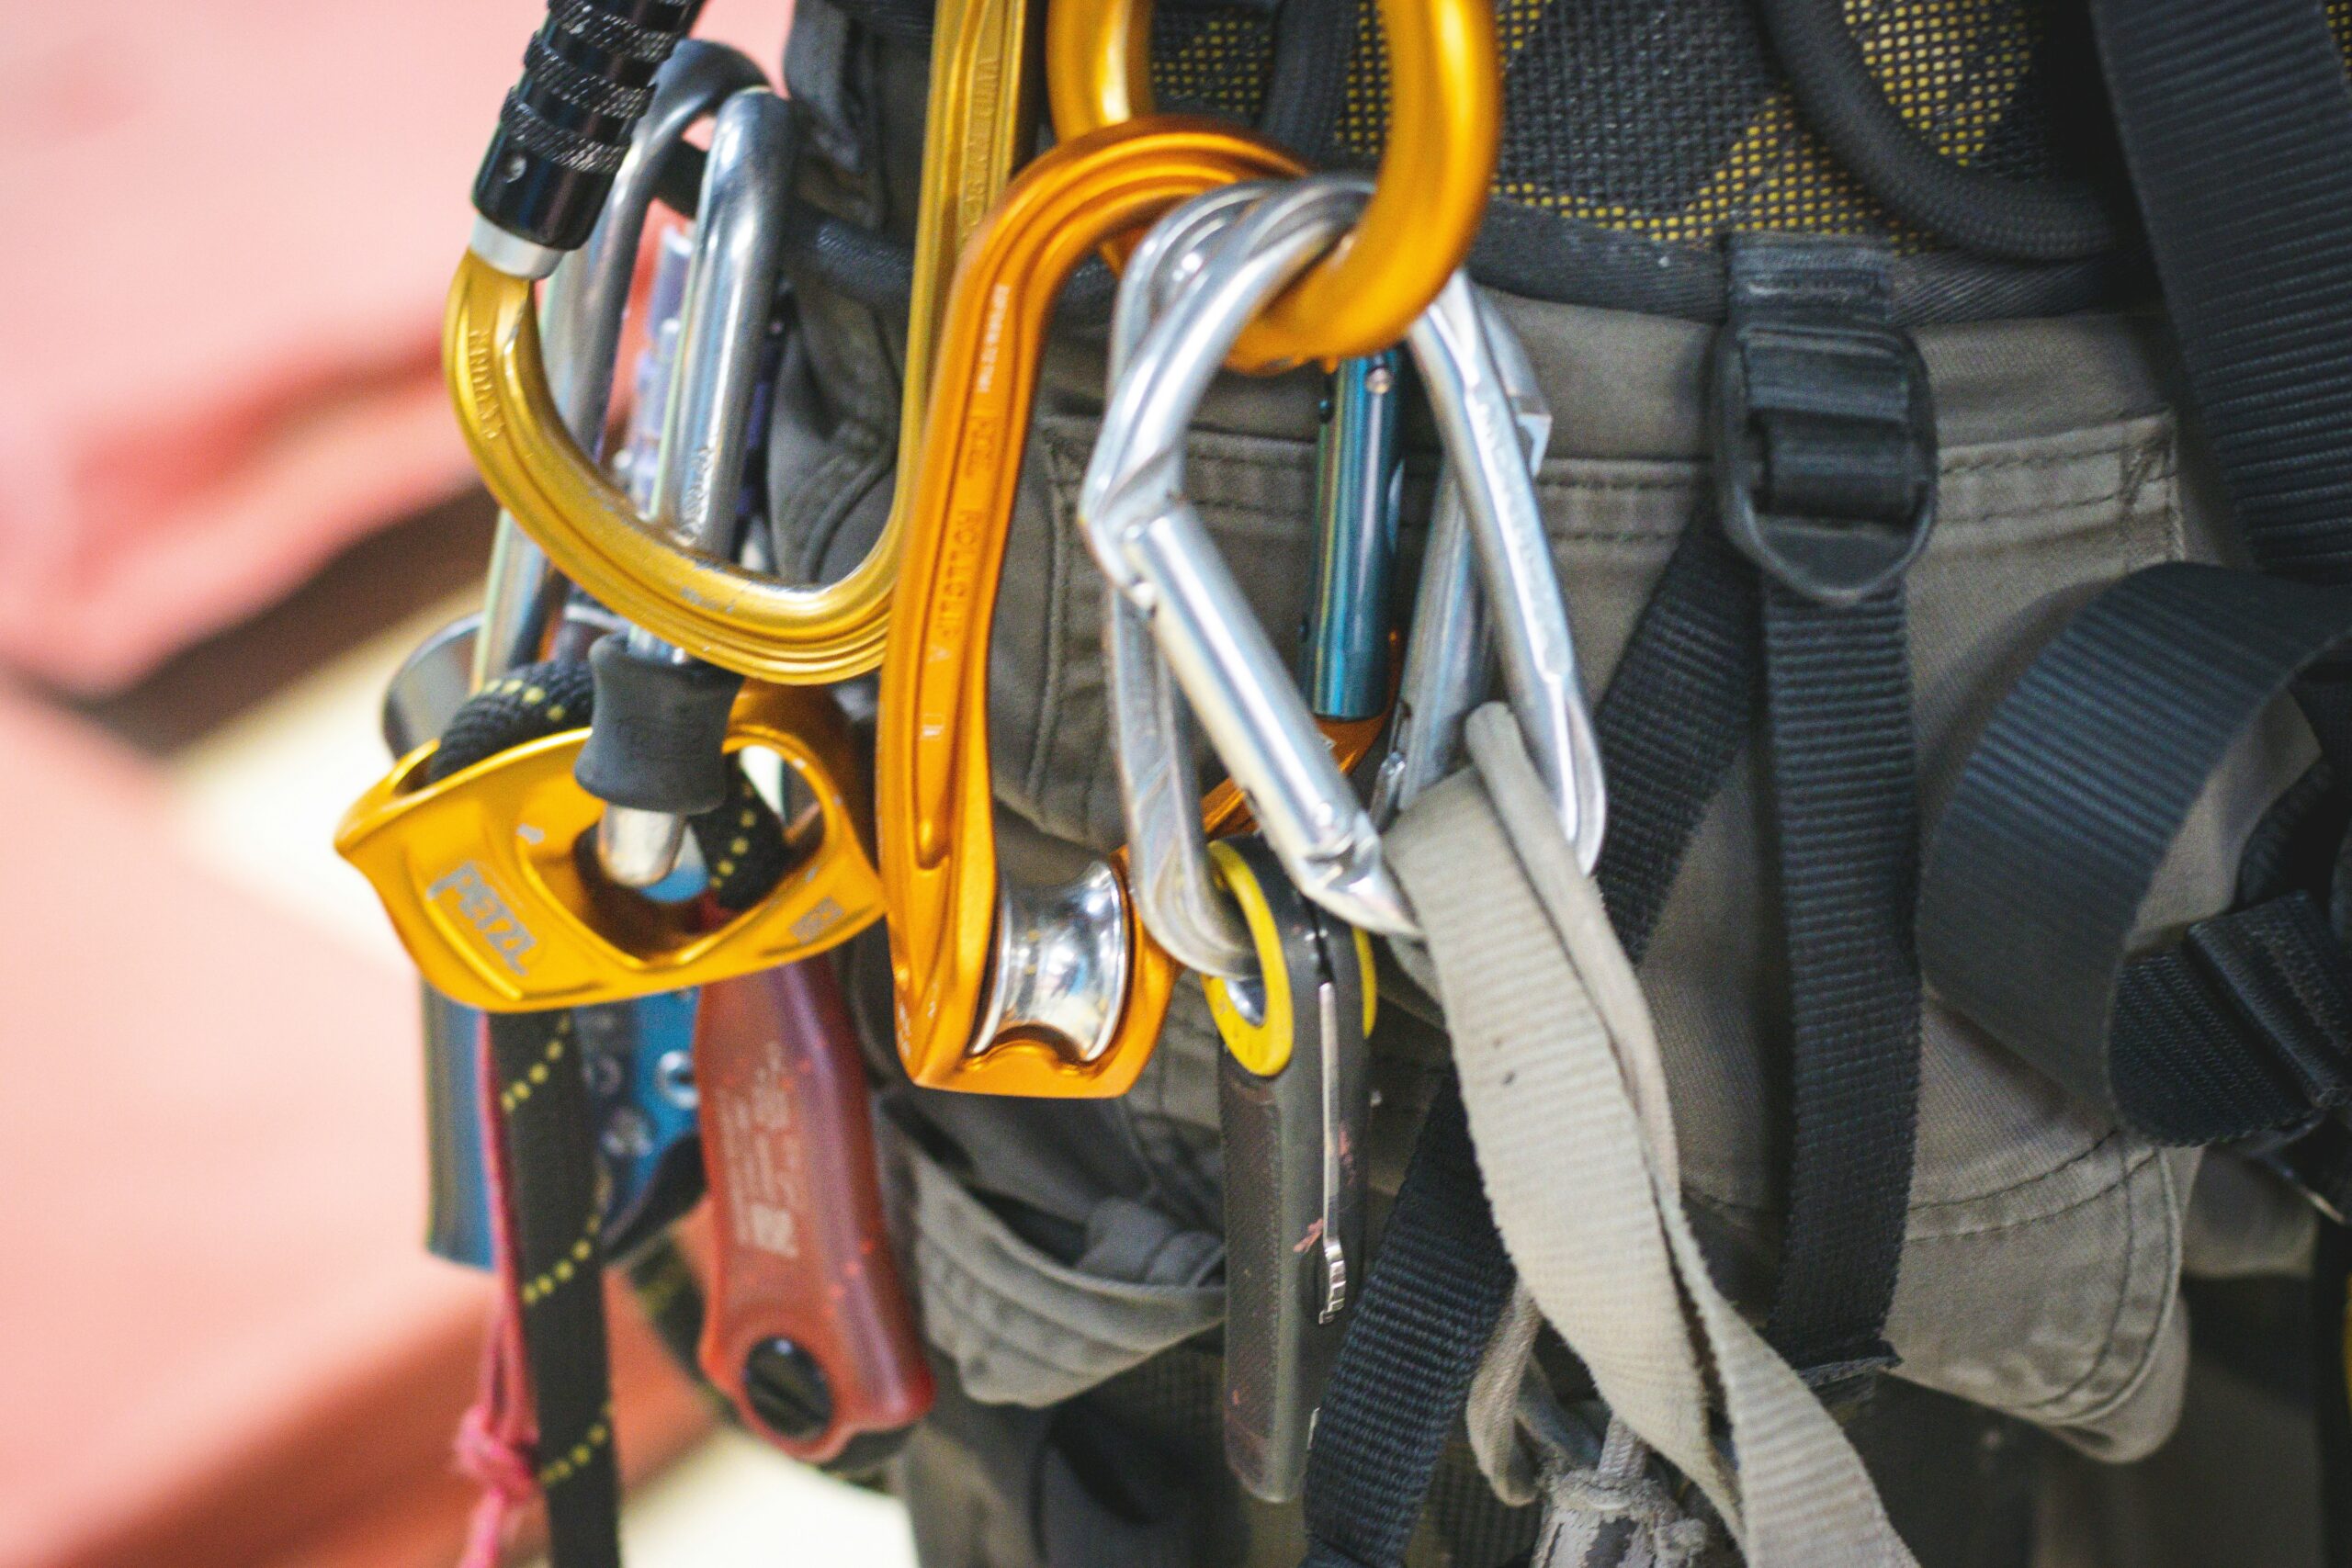
- Match Gear to Goals: Not all devices are created equal. If sport climbing is your jam, invest in gear tailored to high-friction needs.
Climbers Who Nailed It (and What We Can Learn)
Meet Sarah P., a competitive climber whose mastery of friction saved her life during an unexpected fall. “I always tweak the settings based on terrain,” she says. “Had I ignored the wet surface, I wouldn’t have adjusted the brake enough—and things could’ve gone south fast.” Her secret? Always assume conditions will change faster than your playlist.
Another success story comes from Dave T., whose YouTube tutorials highlight why experimenting beats complacency. Watching him switch from low to high friction mid-climb proves that preparation trumps panic any day.
Frequently Asked Questions
What Are Friction Control Features Anyway?
These are built-in mechanisms within belay devices allowing climbers to modify the amount of resistance applied to the rope while belaying or rappelling.
Can Incorrect Settings Cause Accidents?
Absolutely. Too little friction results in uncontrolled descents; too much strains the system and increases fatigue.
Is My Old Device Still Safe to Use?
Depends. If it lacks modern friction enhancements, consider upgrading. Some older models simply don’t cut it anymore.
Conclusion
Friction control features may not be the flashiest part of your climbing kit, but they’re undeniably vital. From preventing burnouts (literal and figurative) to giving you unparalleled command over climbs, getting comfortable with these settings elevates your game exponentially.
Remember: Practice patience, embrace experimentation, and keep your gear in tip-top shape. Now go forth, conquer those peaks—and maybe write us a haiku about it later. 🧗♀️✨